How to Prime Your RV Cabinets and Walls Like the Pros
This post may contain affiliate links.
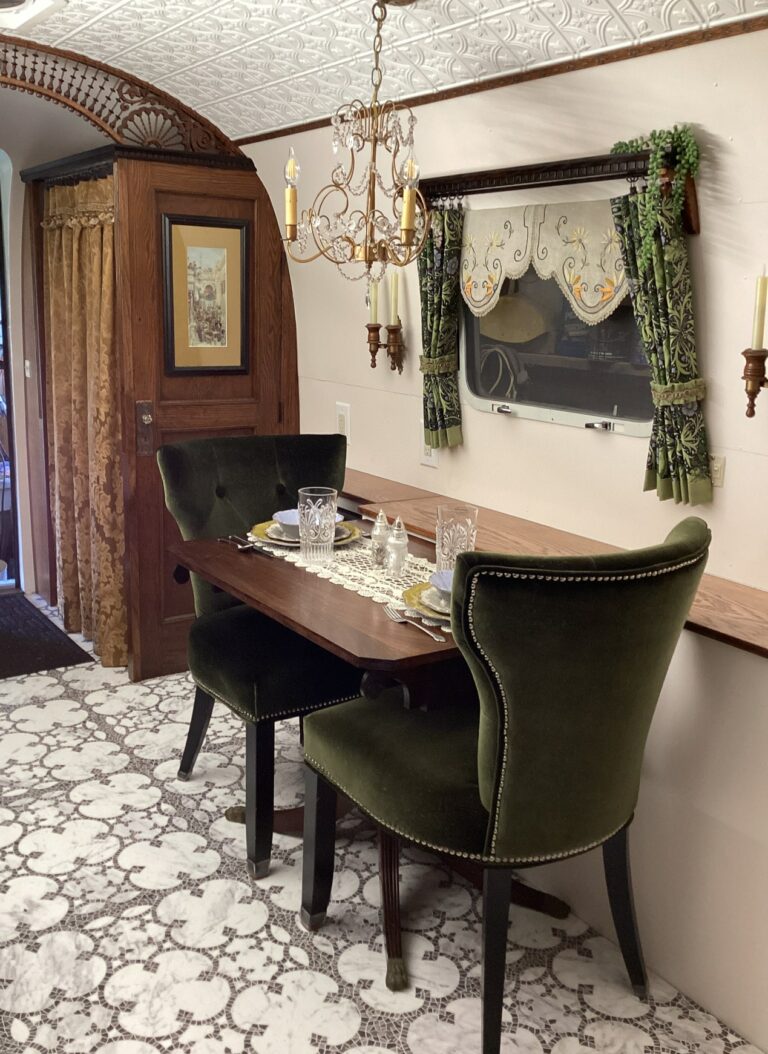
Painting in an RV makes a huge difference, but it is incredibly time-consuming and requires a lot of prep work.
Most people deciding to try a DIY RV paint job tend to:
- Do the research and then realize they would rather hire a professional.
- Start painting in an RV. But then they either quit because it’s difficult and takes A LOT of time, or they suffer through it and love the results!
- Try painting an RV like you would a house and end up with issues such as peeling and cracking within months after all of their hard work.
You may wonder, though, “Why is priming and painting an RV so tricky?” It’s because RVs are not constructed like your typical “sticks & bricks” homes.
However, painting our RVs can be done if you spend time on the most imperative step when painting an RV…the PREP.
In this article, I will share the “surefire” prep steps you need to take to complete your RV’s painting project like a professional. (I will spare you the painting steps because that’s the “easy” part.)
What Exactly is Primer?
Primer is the base coat used to treat surfaces before applying a topcoat (paint).
Not only is it created to ensure maximum adhesion, but it also acts as a stain-blocker and a sealer for porous surfaces.
Without primer, a porous surface will absorb a lot of paint, requiring many additional coats.
In addition, better paint adhesion means your paint job lasts longer.
How Important is Priming When Painting in an RV?
Primer is essential in an RV with vinyl wallpaper and wood veneer that paint doesn’t adhere to or bond to as easily.
As much as I wish I could say there’s an easier way to complete this project, I cannot in good conscience advise you to skip any step, including priming.
To provide some insight, it usually takes me a week + to completely prep for a Full RV paint job. (Obviously, that time is shorter if you only paint a small portion of the RV, such as an accent wall.)
I’m sure some folks have luck using other products and/or skipping a couple of steps. However, skipping steps is a risk. For DIY-ers, the risk may be worth it to save time, sweat, and tears, but that’s your choice.
Just know that when skipping steps, there’s a higher chance of peeling, shorter longevity, and additional paint coats may be required, etc.
Therefore, you may be back at square one, needing to repaint again a few years later. As a professional, I do each and every (exhausting) step to guarantee a high-quality end product for my clients that will hold up for years to come.
Do I have to Prime My RV Walls?

Yes, because even though each RV differs, none are built with drywall like a brick-and-mortar home.
RVs use various types of pressed board (typically lauan) that is then covered in vinyl wallpaper. (This is also not the same as traditional wallpaper.)
Additionally, there are very few (if any) perfect 90-degree angles/corners in RVs. Therefore, paint can’t be slapped on; it won’t stick.
Do I have to Prime My RV Cabinets?

Yes. The same goes for cabinetry, generally made from pressed board or MDF and covered in vinyl or wood veneer.
High-end RVs and some much older campers use real wood, but nevertheless, those still need light to medium sanding (and cleaning) before primer and paint.
Disclaimer: RV manufacturers use different products to build RVs, and while things change over time, they consistently use non-paint-friendly products. (It’s almost like they don’t want us to paint our RVs!)
What is the Best Primer to Use? (And Can I Use the Same Primer on Walls and Cabinets?)
Yes! I use the same primer for the walls and cabinets: Kilz Adhesion water-based Interior/Exterior.
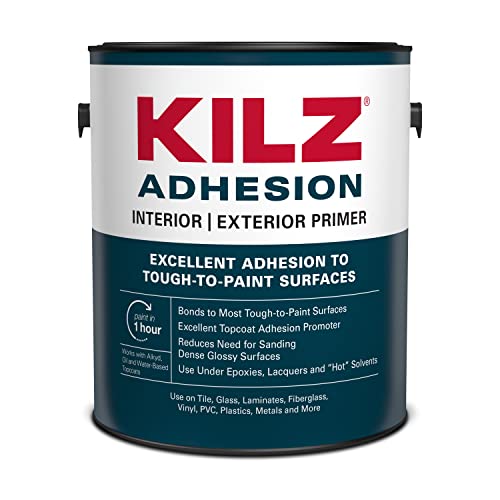
- BONDING PRIMER: A high adhesion primer that bonds to a wide range of difficult to adhere to surfaces. It is formulated for situations where a secure bond is critical and use of a traditional water or oil base primer might be questionnable. It increases the possibilities for paintable surfaces.
Another popular option professional painters choose for primer is Sherwin-Williams brand products.
Can I Use a Paint & Primer Instead of Priming Separately?
Most people think buying “Paint & Primer” (all-in-one) will save them time and money, but this is untrue, especially in an RV!
Almost all quality paint made in the last 10 years is self-priming, and quite frankly, vendors who advertise “Paint & Primer in one” are simply using that as a marketing ploy to sell you expensive paint. Yes, these paint & primer products will easily bond to previously painted surfaces, but that’s not what you’ll typically paint in an RV.
PRO TIP: Did you know you can have your primer tinted to match your desired paint color?! This is an excellent option for a few reasons:
- Primer will help the paint retain its color better.
- It will also significantly improve the look when painting a light color over a dark shade (such as RV cabinetry). Remember, this works best if you’re only painting one project (either the walls or the cabinets), as people don’t typically paint both the same color.
Below is a step-by-step guide to how I prep and prime, as well as my preferred materials as a professional RV Renovator.
How to Prime Your Cabinets and Walls for Professional Results:
1. Remove Everything from the Walls
Remove all cabinet doors and drawers, hinges, knobs, and anything on the walls.
2. Prep Holes
Scrape and patch any holes with wood putty from the nails/screws/staples, etc that you remove.
3. Sand

I recommend using an orbital sander along with 220 grit to cover every inch you’re going to paint. Be sure to put some muscle in it & wear a mask!
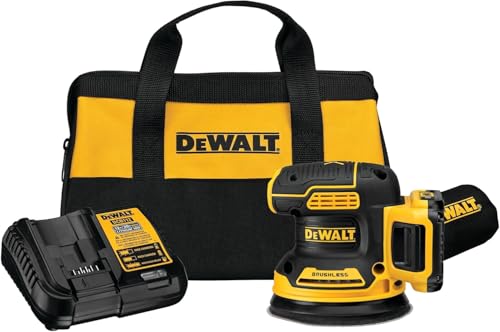
- Orbital sander with brushless motor provides runtime and efficiency to get the job done

- This product includes 100 pieces of 5-inch 220-grit hook and loop velcro gold sandpaper, packed in a single box
PRO TIP: I use 180 grit for the cabinets. It saves a lot of time!
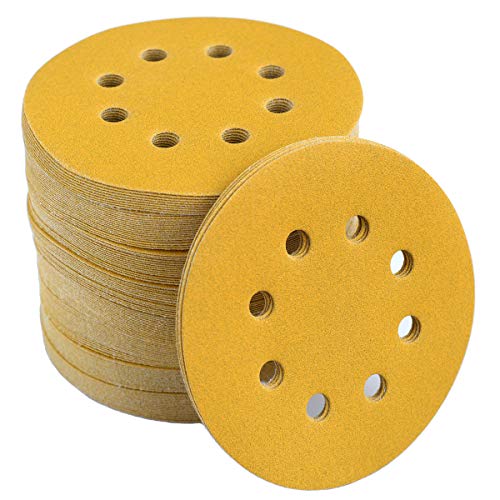
- This product includes 100 pieces of 5-inch 180-grit hook and loop velcro gold sandpaper, packed in a single box
There will be some areas the DA orbital sander can’t reach. Therefore, you will need to sand those areas manually by hand.
4. Wipe
Next, use TSP (Trisodium Phosphate) mixed with warm water (as instructed on the box) to wipe all the areas you sanded with a sponge. Wear gloves and rinse the sponge out as you go.

- HEAVY-DUTY MULTI-PURPOSE CLEANER - Our powdered trisodium phosphate cleaner is a non-sudsing compound that excels in heavy-duty cleaning. Expertly crafted to conquer the toughest jobs, removing stubborn grease, smoke, soot, and chalked paint from almost any type of walls & floors
Go over the same areas with clean, warm water and a sponge while rinsing in between.
NOTE: As stated on the Kilz (the primer brand I use) website: “All surfaces must be clean, free of dust, chalk, oil, grease, wax, polish, mold and mildew, loose peeling paint, rust and all other foreign substances.”
5. Choose Your Prime & Paint Tool (Spray v. Brush v. Roll)
I use this industrial spray gun to prime & paint. However, you can use a roller (or brush) if you don’t have access to a sprayer.
Using a brush is my least recommended method unless it’s a very narrow space.
The benefit of using an industrial sprayer like mine is that it allows you to prime quickly and effectively throughout the camper.
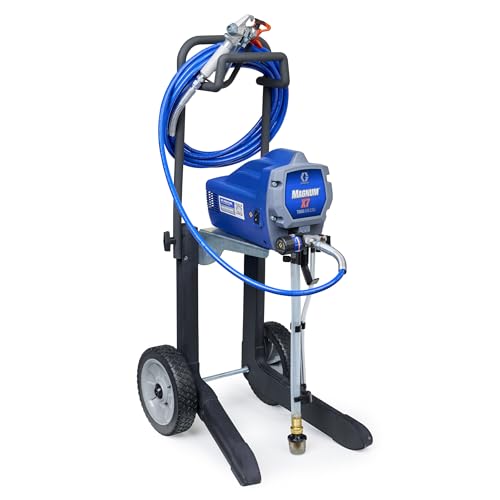
- CONTROL PAINT FLOW: Fully adjustable pressure to give you ultimate control of paint flow for any project size; RAC IV SwitchTip allows you to reverse the tip when clogged to keep you spraying
If using a sprayer, cover the windows with kraft paper or plastic. And then tape it with frog tape.
If using a roller or brush, tape the window frames.
6. Prime
Now, the moment you’ve all been waiting for…it’s PRIME TIME!

PRO TIP: If you’re not the best at taping, you can tape and then use a razor blade to cut the tape to the edge of the window frame. Just don’t cut into the walls or damage the window frames!
First, to prime, it needs to be 50-90 degrees. So, once the temperature is suitable, get your sprayer, roller, or brush out and start priming!!
Remember, primer takes little time to dry. It can be dry to the touch in 30 minutes and ready for another priming coat or paint in an hour. However, this can vary depending on the RV’s temperature, humidity, ventilation, and the coat thickness you apply to the surfaces.
Related: 15 Ways to Cover the Mirrors in Your RV Cabinets
I used to prime similarly to how I paint: thick coats with no “see-through” spots. This is absolutely not necessary.
The idea behind primer is to put a bonding agent on the walls and cabinets for the paint to stick to effectively. This means your walls and cabinets don’t need to look pristine with the white primer.
Nowadays, it looks less intense when I prime, but I also must remember that priming too lightly will take more coats of paint to cover your surface.
To confirm your primer is on well, perform the scratch test, as seen in this video by @tomazcoasttocoast.
Summary: How to Prime Your RV Cabinets and Walls with Professional Results
And there you have it! Those are the prep and prime steps necessary to start your RV painting job like a pro.
You’re ready to paint once you’ve made it through those phases. Enjoy!
Read Next: A Complete Guide to Painting RV Walls & Cabinets


As a full-time RV-er with decades of interior design experience, I pour my heart and soul into rain2shine ventures. I bring passion and creativity to each project, prioritizing functionality and style. I wear many hats at r2s; not only am I running a successful business, I design every remodel, tackle much of the labor and decorate each project to bring a client’s vision to life.
Rain2shine ventures and myself have been featured on the cover of RV Enthusiast, in O’Henry Magazine, WFMY News 2, and a handful of other publications.