16 Efficient Ways to Makeover Your RV Countertops
This post may contain affiliate links.
Do you cringe every time you look at your RV countertops?
Perhaps they’re a hideous color, don’t match your style, or are worn and damaged beyond repair.
If so, this guide will help you determine whether updating your RV countertops is an option, if you need to replace them, and, if so, with what.
The ideas in this article aren’t just for RV kitchens, but could apply equally to RV bathrooms, built-in tabletops, and even residential kitchens!
And if you’re on a budget, don’t worry, because I’ll be sharing countertop makeover ideas that can be done for under $100 and possibly even under $50!
6 Factors to Consider When Replacing or Updating RV Countertops
These are the things you’ll want to think about when deciding how to proceed with an RV countertop makeover:
1. Cost: If you’re like most people, you want a countertop that looks nice but won’t go over budget.
2. Ease of Installation: Will you be paying a professional for new countertop installation, or doing the project yourself? If this is a DIY RV countertop makeover, you’ll want to make sure you’re capable of—and comfortable with—the skill and effort required.
3. Weight: Depending on your camper’s weight rating, you may need to choose a lightweight countertop material to make sure it isn’t too heavy.
4. Durability: Lightweight countertop materials are often less durable than heavier ones. Unless you want to be doing the project over again before too long, you’ll want to think about the type of wear and tear your RV countertops will need to withstand.
5. Permanence: Is there any chance you (or the next owner of your RV) will want to change the look again at some point? If so, you might not want to do anything that would be too difficult to replace or remove.
6. Quality / Appearance: This is somewhat subjective since everyone’s tastes are different. But using quality materials that are consistent with current home interior trends may help increase the value of your RV. If you choose an uncommon countertop material, you may have trouble selling your camper at the price you want if buyers view your unique countertops as something they’ll have to either “put up with” or replace.
What Are Your Options for Updating Your RV Countertops?
If you want to improve the appearance of your camper’s countertops, these are your basic options. (I’ll share photos of each of these options below!)
- Restore the existing countertops. If you prefer the look of your RV’s original countertops and simply want to repair damage and wear, restoration is an option, though it isn’t necessarily the cheapest or easiest option.
- Remove the existing countertops and replace them with new countertops. You can hire someone to do this, or you can do it yourself. This is usually the most costly option.
- Cover up the existing countertops with a non-permanent material, such as contact paper. This option is the cheapest, but also the least durable. Still, it may be just fine for some campers.
- Alter the existing countertops by painting them or applying some other material on top of them. This option usually involves a lot of time and effort, but the risk can pay off if the job is done well.
- Remove the existing countertops and build DIY countertops. This option usually requires the most skill, but can result in beautiful and affordable countertops for those willing and able to invest the energy.
RV Countertop Makeover Inspiration
Throughout the rest of this article, I’ll share photos, videos, and information about each of the RV countertop makeover options I’ve outlined above. I’ll also compare the cost, weight, durability, permanence, and skill required for each option.
Updating Existing Countertops
The first RV countertop makeover options I’ll cover all involve keeping your existing countertops and altering them in some way.
1. Peel-and-Stick Countertops
Estimated Cost: $10-$30
Skill Level: Beginner
Time/Effort Required: A few hours
Weight: Adds no significant weight
Durability: Will eventually need to be replaced
Quality: Depends on your taste, but can be easily reversed.
One of the quickest and cheapest ways to give RV countertops a fresh look is to cover them with a faux marble, granite, or wood grain peel-and-stick countertop. That’s what was done in the camper pictured below. The exact product she used was this shelf liner from Walmart. But there are lots of similar products designed to go on countertops available online in a variety of colors and styles.

The obvious downside to this option is that it’s not very durable. Over time, the adhesive paper may tear and need to be replaced, but the owner of the RV shown above says she loved how it turned out. They did end up later replacing it with a more permanent solution, a countertop paint from Rustoleum, which I’ll show a picture of later in this article.
If you go the inexpensive peel-and-stick route, installation requires no special tools or prior skill, but making it look good, especially around curved edges, can be tricky.
- Product Introduction: Width is 60cm about 23.6 inches, length is 300cm about 118.1 inches, area is about 19.3 square feet. The material is PVC, self adhesive no extra glue needed. Our marble is manufactured based on real marble to give customers the look of real marble. As the color of the picture will be affected by factors such as screen display and shooting light, the actual color of the product should prevail in kind
In this video you can see some tips for applying a peel-and-stick countertop around a curved edge, and here’s another video that will give you a good idea of what the installation process is like.
2. Re-Laminating / Restoring RV Countertops
Estimated Cost: $75-$200
Skill Level: Moderate to advanced
Time/Effort Required: Significant
Weight: Light
Durability: More prone to scratching and staining, but can stay nice with proper care
Quality: Same as factory-original condition
Below I’ve shared a video demonstrating how to replace the laminate material on an RV table and countertops to restore them to their original condition.
The project requires specialized tools for cutting and clamping the countertop material in addition to the purchase of adhesive as well as the laminate sheets themselves. He says he paid $75 for each 4’x8′ sheet but they can be purchased for around $50.
Replacing the countertops with new laminate countertops would be easier and might not cost much more for a small space, but re-laminating would allow you to re-use components such as a hardwood table top. Plus, this would be a good way to restore the original look of the RV, for example in a vintage camper restoration.
3. Professional Countertop Resurfacing
Estimated Cost: Depends on your area, but usually cheaper than a new granite or solid-surface countertop.
Skill Level: Professional
Time/Effort Required: A few days (a few hours for each coat, plus time in between for drying)
Weight: No change
Durability: Should be guaranteed
Quality: Medium
If you can find someone in your area who offers professional countertop resurfacing services, you may want to consider this option.
This technique, which is often used in rental properties, applies a durable, permanent finish to existing laminate or solid surface countertops. I have a relative who had both her laminate kitchen countertops as well as her cultured marble bathroom vanity in her home re-done in this way, and she was happy with the result.
The cost would probably be more than replacing the countertops yourself, but less than paying for the professional installation of new solid-surface countertops.
4. Rustoleum Countertop Paint

Estimated Cost: Under $100
Skill Level: Beginner
Time/Effort Required: Moderate
Weight: No significant weight added
Durability: Reportedly very durable
Quality: Can look really good if done well
This is the countertop paint from Rustoleum I mentioned earlier in this article. I had never heard of it until I asked the owners of the RVs pictured below what they used in their countertop makeover. They all recommended this product!

Another RVer used Rustoleum chalkboard paint followed by a matte sealant on her laminate RV countertops to mimic the look of soapstone, and I love how they turned out. You can read about how she painted her countertops here.
Thinking about giving this option a try? Read our our in-depth guide: How to Paint RV Countertops for a Cheap Camper Kitchen Makeover

5. DIY Countertop Resurfacing Kit
Estimated Cost: $30-$150
Skill Level: Beginner
Time/Effort Required: Somewhat involved
Weight: No change
Durability: Receives positive reviews
Quality: Medium
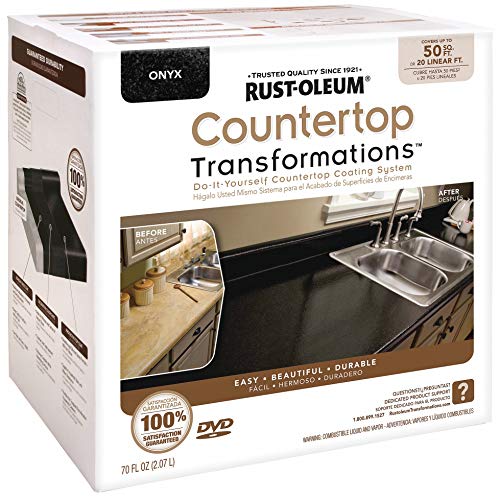
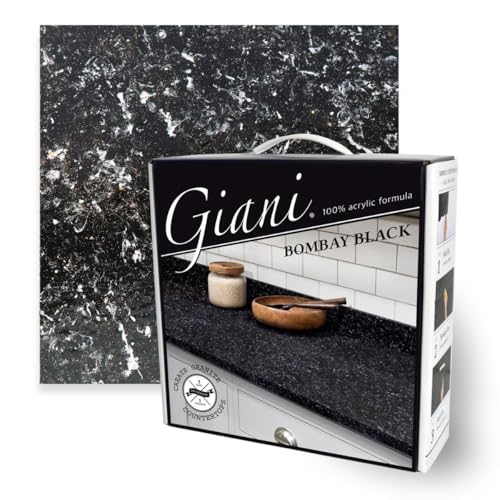
A cheaper alternative to professional countertop resurfacing is to buy a kit that provides you with the various paints and epoxies needed to do it yourself. Two popular brands to look at if you decide to go this route are Giani Countertop Paint Kits and Rust-Oleum Cabinet Transformations. Both of these kits result in a finish that mimics the look of granite.
- Ideal for use on a variety of countertops in your home including kitchen and bathroom
I would especially recommend this option for an older camper that you want to update without having to do a complete renovation, especially if your countertops that get a lot of use.
- 3 simple steps that will transform Formica, laminate, Corian, ceramic tile, butcher block, cultured marble, and traditional granite in a single weekend.
If the countertop resurfacing kits are out of your budget, you could do what another family did and copy the technique using a mix of acrylic paints covered with Minwax Polycrylic, as seen in this video:
6. Faux Marble Countertops
Estimated Cost: Under $100
Skill Level: Beginner, but it helps to have experience with painting
Time/Effort Required: Very involved
Weight: Moderate
Durability: High – Epoxy is a popular countertop surface material for DIY RV renovations.
Quality: Looks great if done well
Recently I’ve started seeing a lot of people making over their RV cabinets with a faux-marble finish using a DIY process that involves painting them and then pouring epoxy over the painted surface.
- Crystal Clear Epoxy Resin: Loved by beginners and pros, our high-gloss epoxy achieves brilliant results every time. The self-leveling formula makes it easy to coat table tops, furniture, and tumblers, or cast coasters, jewelry, and other molds
The project looks kind of messy, but I’ve seen some fabulous results, and it wouldn’t hurt to try before going to the expense of replacing the countertops completely.
Here’s a blog post with photos and step-by-step instructions demonstrating the process of first painting a pop-up camper countertop, then pouring clear epoxy over it.
Here’s a demonstration of the entire process using a slightly different technique:
7. Epoxy Countertops
Estimated Cost: Under $100
Skill Level: Beginner
Time/Effort Required: Very involved
Weight: Moderate
Durability: High – Epoxy is a popular countertop surface material for DIY RV renovations.
Quality: Can look great if done well, but may not be appreciated by buyers of your RV if highly niche.
Epoxy can be used for more than just creating a faux marble look. You can use it to create a clear, durable, glossy layer over whatever countertop surface you choose.
In the video below, you can see epoxy being poured over a countertop with pennies glued to it, but instead of pennies you can use whatever you want, such as a stenciled design, pretty fabric, a road map, or just a coat of paint in a fun color.
If you do decide to work with epoxy, I recommend reading this blog post first: What No One Tells You About Self-Leveling Epoxy
8. Faux Concrete Countertop
Estimated Cost: Under $100
Skill Level: Beginner, but I’m sure related experience would be helpful.
Time/Effort Required: Very involved
Weight: Lightweight
Durability: Good
Quality: Looks great for a modern or industrial aesthetic.
Concrete countertops are a popular look right now, but a countertop made of solid concrete would be way too heavy for most campers.
A few people have figured out a way to re-create the look when renovating their RV, but without too much weight, by spreading thin layers of cement directly onto the existing countertops.
The type of cement used to create the look in the RV shown below is called Ardex Feather Finish.

Here’s an RV with cement countertops in both the kitchen and bathroom:

Here is a video demonstrating the application process. The couple in the video applied a waterproof sealant after coating their countertops with thin layers of concrete.
9. Ceramic Tile Countertop
Estimated Cost: $50-$150, depending on square footage
Skill Level: Beginner to intermediate
Time/Effort Required: Somewhat involved
Weight: Moderate – Need to calculate weight before deciding on this option.
Durability: Very durable, but the grout can be difficult to keep clean.
Quality: A classic choice.
Did you know you can use real tile in an RV?
A tile countertop would be no more or less difficult than any other tile project, which involves cutting the tile (for a small area, a tile cutter like this or this would probably work just fine) and then applying it using some type of adhesive (a local hardware store can recommend the best type depending on the surface you’re tiling) and filling in the spaces between with grout. It is recommended to use flexible grout for tile projects in RVs.

10. Wood or Faux Wood Plank Flooring Countertop
Estimated Cost: About $1 per square foot
Skill Level: Beginner
Time/Effort Required: Relatively easy
Weight: Lightweight
Durability: Depends on the type of flooring used, but possibly susceptible to scratches
Quality: Nicer than you’d think
The last idea I have to share for making over your existing countertops is to cover them with plank flooring, especially if you have some leftover from re-doing your floors.
Below is a photo I found on Pinterest of a kitchen countertop someone covered with peel-and-stick vinyl flooring, which sounds like it would look tacky, but I think it actually looks awesome!
How to Remove and Replace an RV Countertop
That’s it for updating your existing countertops, but what if you need to completely replace yours? First, we need to remove your old counters.
Here’s a video demonstrating how to remove RV countertops:
Now on to some ideas for what to replace them with!
RV Countertop Replacement Materials
11. Laminate countertops
Estimated Cost: $79-$400
Skill Level: Moderate to advanced
Time/Effort Required: Not too difficult with the proper tools for cutting
Weight: Light
Durability: More prone to scratching and staining, but can stay nice with proper care
Quality: Equal to or better than that of many brand-new RVs
One of the cheapest replacement countertop materials is laminate particle board, such as Formica. It is lightweight and can look very nice.

It’s also fairly simple to install if you have the tools to cut it, and it’s not hard (or terribly expensive) to find someone who can install it for you. There’s no need to take your RV to a dealership for this! A remodeling contractor who is willing to work on an RV would be just as capable if not more so.
A local home supply store such as Lowe’s or Home Depot will carry lots of options, and if you happen to be near an Ikea, they have lots of beautiful laminate countertops as well, such as the faux marble in the above photo.
12. Natural and Engineered Stone Countertops
Estimated Cost: $50-$100+ per square foot, plus installation costs.
Skill Level: Moderate to advanced
Time/Effort Required: Requires professional cutting.
Weight: Around 13 pounds per square foot (depending on density and thickness)
Durability: Very durable
Quality: Luxury
At first, you might think this type of countertop would be far too heavy for an RV, but some campers and motorhomes come with these heavy luxury countertops, such as the Keystone Bullet Premiere, pictured below:
Upgrading to a granite, marble, or engineered quartz countertop in an RV will go a long way toward creating the look of a luxurious modern kitchen. Check out this beautiful renovated RV kitchen with marble countertops added:

Below is a comparison chart showing some of the pros and cons of the different types of natural countertops (zoom in for details).

13. Corian Countertops
Estimated Cost: $40-$60 per square foot, plus installation costs.
Skill Level: Moderate to advanced
Time/Effort Required: Requires professional cutting.
Weight: 2-4 pounds per square foot
Durability: Very durable
Quality: Luxury
Corian is the countertop material used by RV manufacturers in most high-end RVs. It is comparable to granite or quartz in its luxury and durability but is cheaper and far lighter. I had a Corian countertop in my first RV, and I really liked it.

14. Stainless Steel Countertops
Estimated Cost: About $50 per square foot, plus shipping
Skill Level: Moderate
Time/Effort Required: Moderate
Weight: 1-2 pounds per square foot
Durability: Very durable and sanitary
Quality: Nice for a modern aesthetic
Stainless steel countertops are beautiful and eye-catching, but also lightweight and durable. RV brand RecPro sells stainless steel RV countertops custom-made to order.

15. Butcher Block Countertops
Estimated Cost: About $20/square foot
Skill Level: Moderate to advanced
Time/Effort Required: Extensive
Weight: About 5 pounds per square foot
Durability: Can become scratched and dented over time, but can be sanded and refinished if needed.
Quality: Looks nice and is very popular.

Butcher block is probably the countertop material I’ve seen used more frequently than any other by people who have renovated their RVs. There’s a good reason for it: it’s beautiful and stylish and more affordable. For more ambitious DIYers, you can cut and install it yourself.
One thing to note is that changes in temperature and humidity can cause butcher block to swell or crack. This article has some tips for how to account for this during installation.
Below are a couple of videos demonstrating the process of finishing butcher block countertops for installation in an RV.
Want to learn how to make a DIY countertop extension like the one pictured above? You can find that here: Make More Space in Your Tiny Kitchen with an RV Countertop Extension
16. Wood Veneer Countertops
Estimated Cost: $150-$300
Skill Level: Moderate
Time/Effort Required: Moderate
Weight: About 5 pounds per square foot
Durability: Can become scratched and dented over time, but can be sanded and refinished if needed.
Quality: Looks nice and is very popular.
Ikea sells beautiful wood veneer countertops that look like butcher block, but are cheaper and less work to install. Pictured below is Ikea’s Barkaboda countertop installed in a vintage Aristocrat Lo-Liner travel trailer:

Other types of DIY Wood Countertops
If you like the look of butcher block but it’s a little bit out of your price range, you might consider one of these alternatives that other RVers have used:
- 3/4″ Plywood – I know this sounds like it would look really cheap, but after staining and sealing, it actually looks amazingly beautiful!
- 8’x10″ lumber – Another cheap way to create a very nice-looking wood countertop. You can even upcycle free or reclaimed wood into a beautiful countertop!
- Hardwood flooring – At under $5 per square foot, it gives you lots of options when it comes to color and type of wood.
- Raw edge or reclaimed wood – Personally I think these are some of the most beautiful and unique countertops, especially for an RV with a rustic look.
I’ve written more about these DIY wood countertops and provided links to videos and tutorials where you can learn how to make them yourself in my article DIY Wood Countertop Ideas for your RV or Camper Van.

How will you update your RV countertops?
Updating your RV countertops can be a daunting task, but as you can see from the photos, they can make an RV feel clean, modern, and homey. How are you updating your RV countertops? Share in the comments!
Ashley Mann founded RVinspiration.com in 2017. She handed off the website to new owners in 2022 to launch a new business as an online entrepreneur coach, but she still helps out as the blog editor. Ashley spent three years living full time in a 38-foot, 5th-wheel RV with her husband Josiah and their cat, Kitty. Her favorite thing about RV life is the challenge of finding the perfect way to organize a space, and she loves seeing all the creative and clever ways people come up with to customize their RVs.





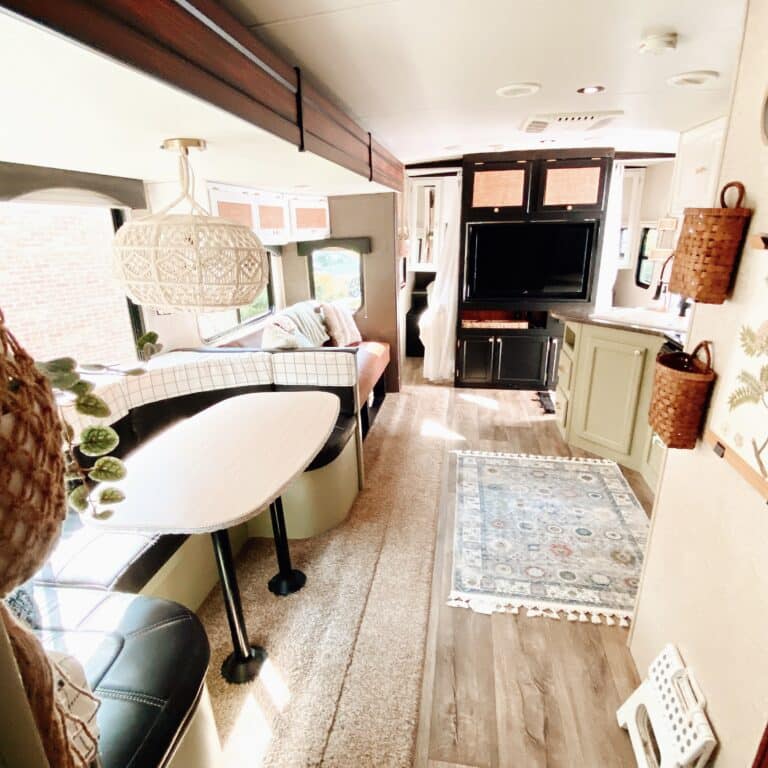
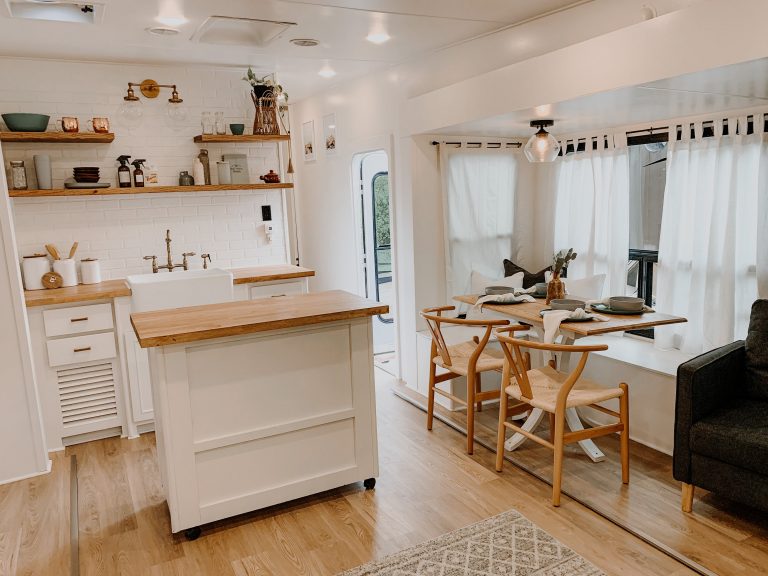
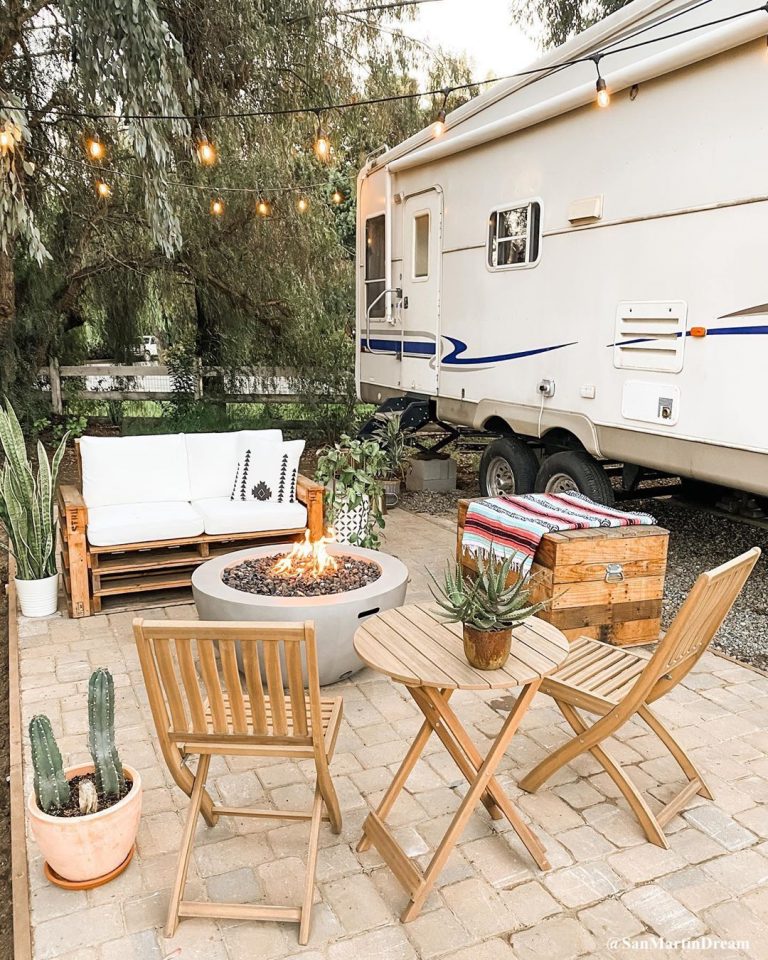
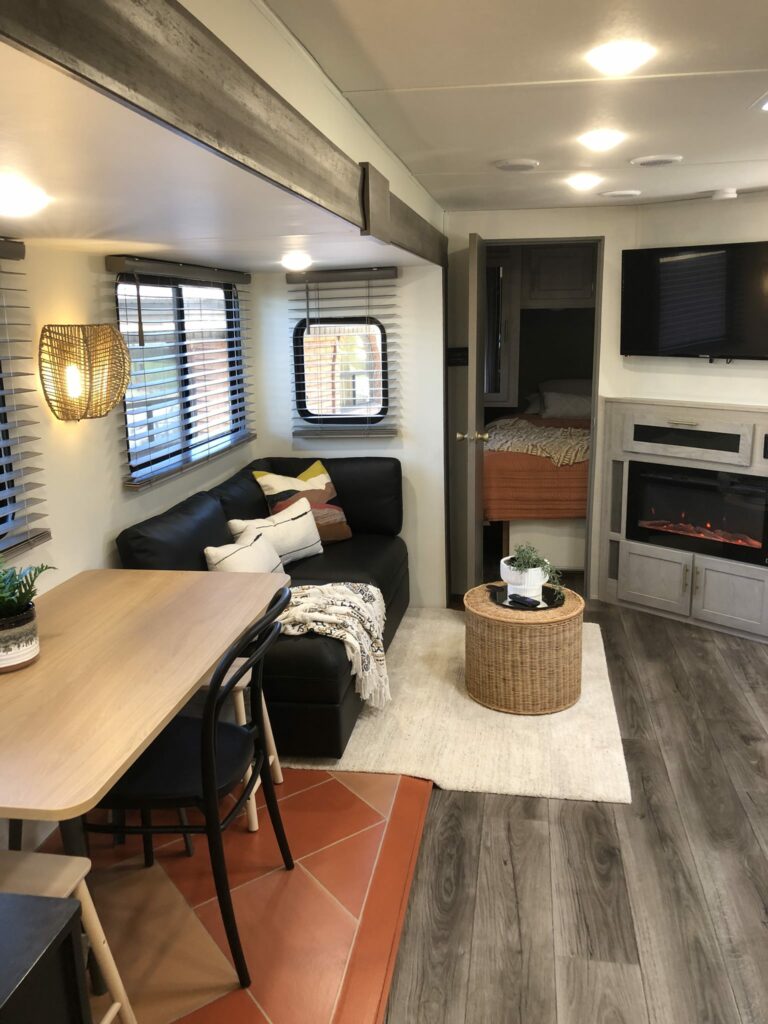
Love your site. Over the past 2 years I have gone through my 1999 Hitchhiker. Valances are black leather. New kitchen and bath countertops, full backspash in stainless looking tiles, Convection microwave, 4 burner cooktop, undermount stainless double farm sink, cutting board is made of all exotic woods, pullout pantry, island that rolls out after travel with a custom 36 inch butcher block top of exotic wood, new light fixtures throughout with reading lights above bed, couch and dining table, 2 pocket doors which encloses the bathroom area and has a washer and dryer with a second 5 cubic foot freezer, the bed has a power motor which lifts the bed to the under storage, vessel sink and residential toilet, 4 150 watt solar panels which keep everything running while on the road or a boondock, cell phone booster for 100 miles, easy up stairs to eliminate bouncing your way in. The outside has a new power awning and has been scrubbed with all stickers removed. It is now called “The Outhouse”. As you can tell im proud of this rig and turn heads every where we go. Im planning on selling it and am not sure of the price to list it. Would you have the time to give me your opinion of the value? Thanks a lot for your time.
Hello! I actually have an article that addresses the topic of pricing a renovated RV! You can read it here! Also, I have a separate website specifically for listing renovated RV’s to sell, if you’d like to check it out as well! Congrats on your awesome reno!
Hi! Thanks for this post! I’m interested in personalizing our RV, and I’m thinking of creating a faux stone for the kitchen area. But we also saw this blog about encasing corks and metal caps of different liquors in epoxy for their bar countertop. Do I need to be an expert on epoxy projects? I read this article, and it mentioned that expertise is required to create an epoxy countertop.
Lots of people create DIY epoxy countertops without any prior experience, so I would say it depends on your confidence in your own ability and whether you’re willing to accept the possibility of it not turning out like you hoped.
Your posts are super helpful!! I got the email for this post at the perfect time too. We’re starting to think about materials for our countertops in our RV. I love your content!
Aw, thank you so much! Glad it was helpful and good luck with your project!
Thanks a lot. I have one of them up for sale. This is for your info. I am not pushing to sell it to you. Just finished product.
Awesome! Thanks for sharing!