They Turned a Motorhome into a Space Ship?!
This post may contain affiliate links.
We’ve seen some truly amazing RV renovations over the years but this one takes the cake! Professional renovators, Casie and Igor of Tomaz Coast to Coast, are frequently hired by RV owners to completely gut, remodel, and custom build their RVs. For this remodel, the owner had a very specific request: that it look like a spaceship.
And boy did they deliver!

We are going to show you how this normal camper was completely transformed, along with before and after photos and how-to’s.
Ready for takeoff? (Sorry, had to!)
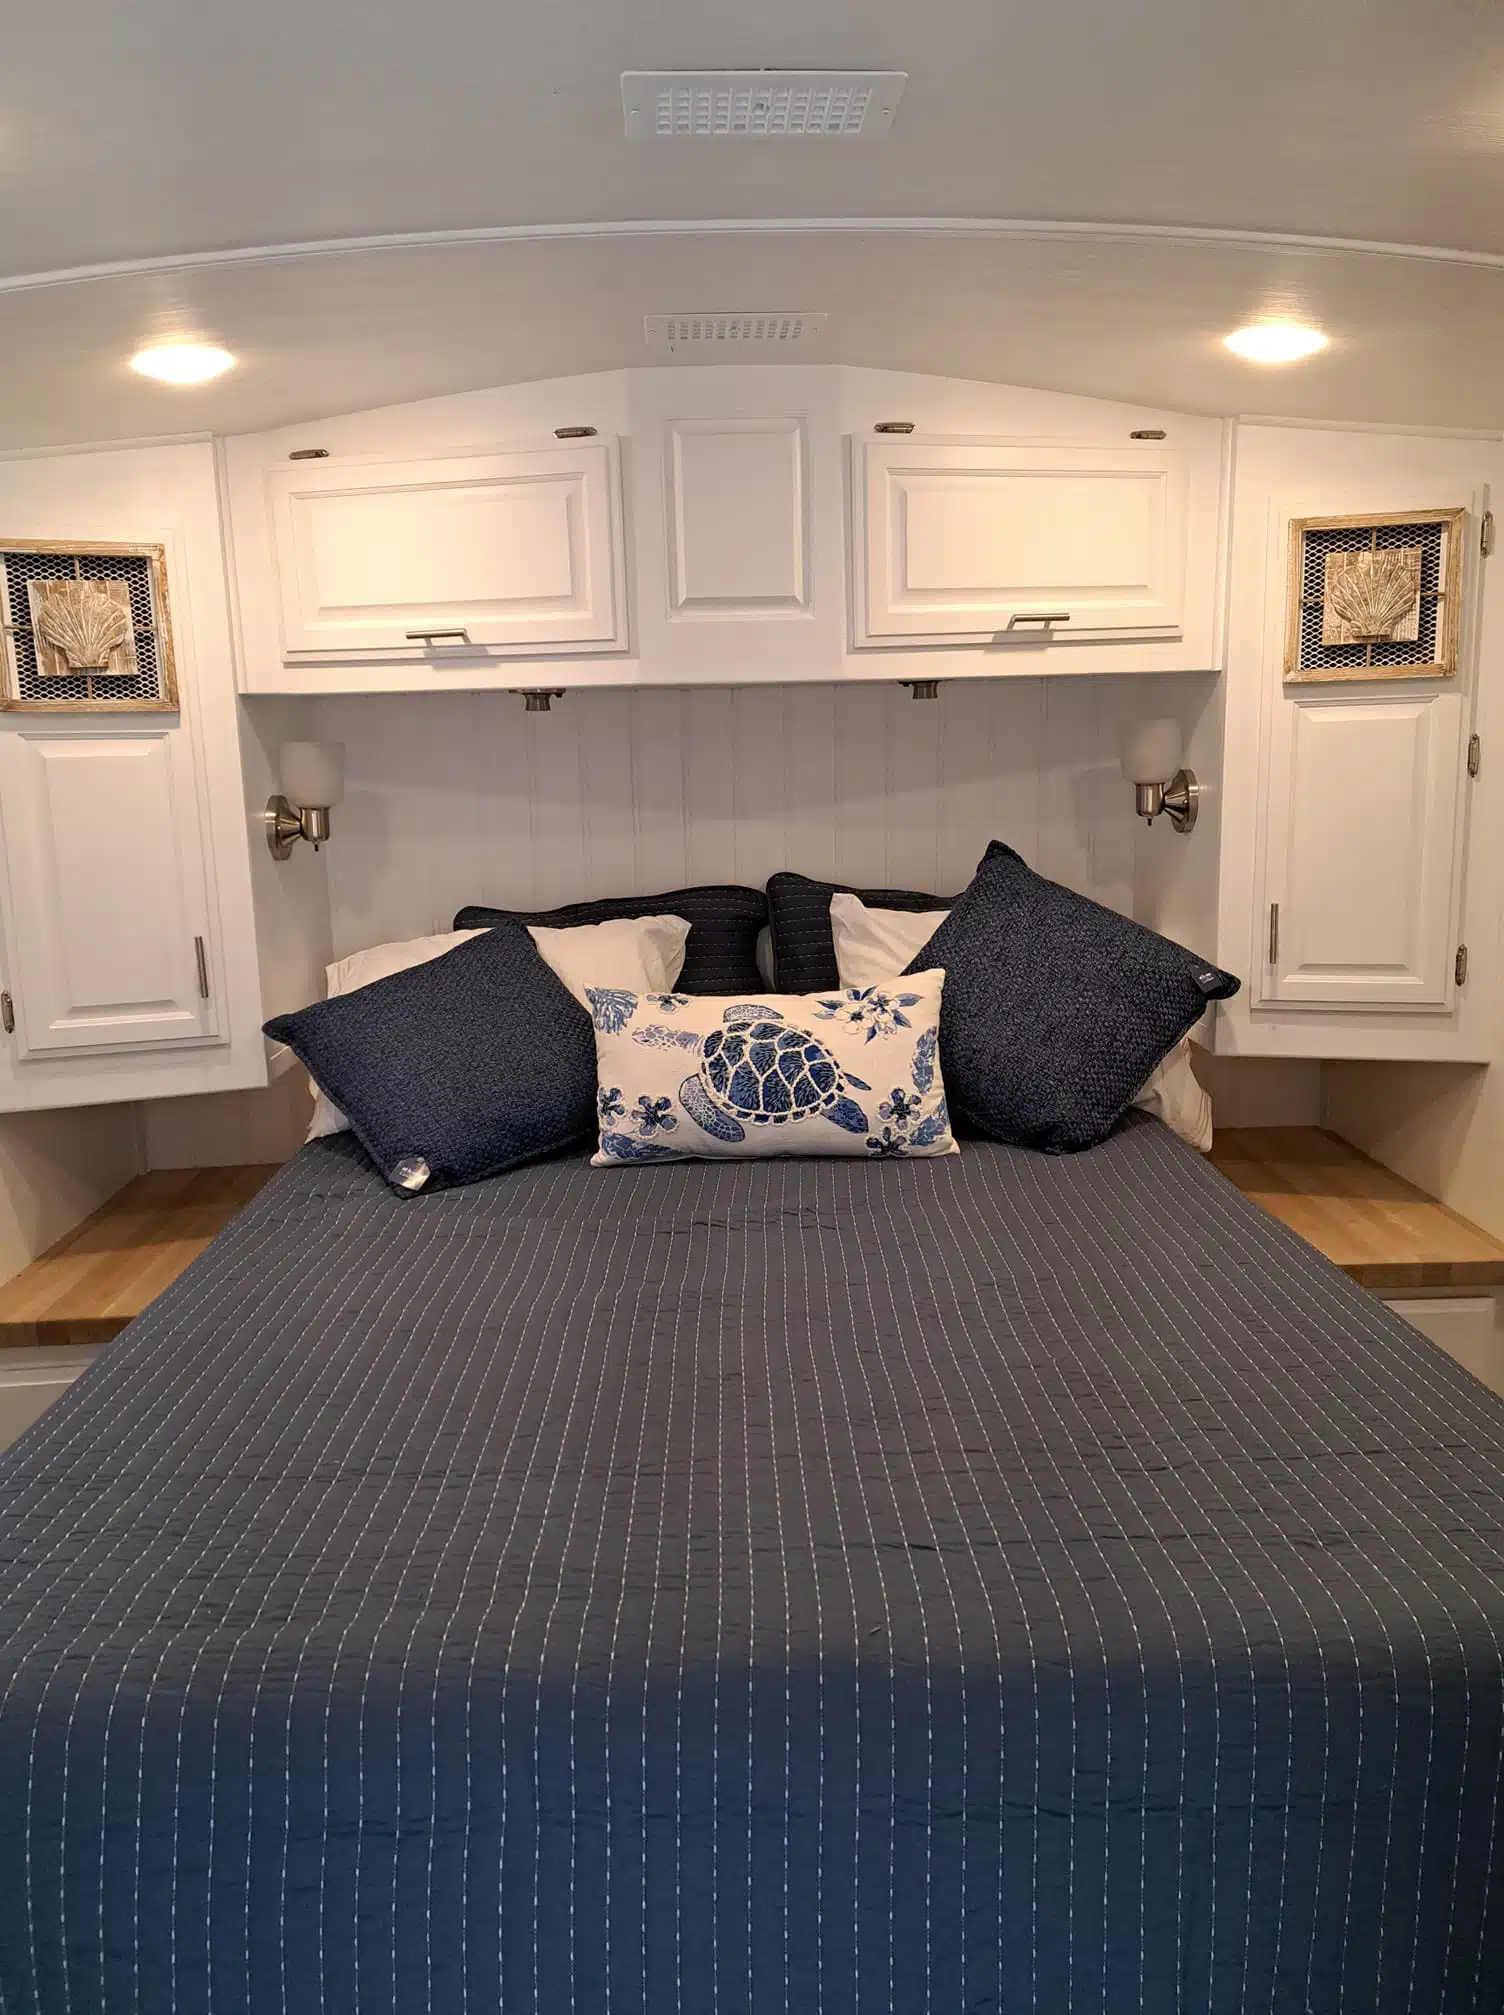
Before the Renovation
Here’s a quick peek at what the RV looked like before Casie and Igor got their hands on it.


Now let’s see how they transformed it!
The Biggest RV Shower…Ever?
We have to start with this showstopping shower that, to me, is the heart of this RV.
Slide for before-and-after.


The RV owner asked for a spacious shower and this one is about six feet wide! Everything about this shower was custom-built—from the floor to the walls. The walls are made of plexiglass which was heated with a blow torch to soften it. Then they bent the plexiglass to make that beautiful curve.
The shower is open, but there is a hidden door that rolls out!
But my favorite part of this RV has to be the plant wall. This plant wall in the shower is only one of three plant walls in this RV. You’ll also see a plant wall in the living area opposite the shower and a tiny one in the vent hood space in the kitchen.

How to Build a Plant Wall In Your RV
All of the plants on these plant walls are fake and from Hobby Lobby. To build the plant walls, Casie and Igor created a frame and then installed chicken wire from floor to ceiling.
“We rolled fake moss down the chicken wire and used zip ties to hold it in. Then we added in more fake plants to plump it up,” Casie said.

For this plant wall, they focused on greenery. “I’ll be honest, I had to restrain myself. I would have added so many flowers,” Casie added.
To protect the fake plants from dirt and grime, a plexiglass frame was created. It’s the case around the plants that totally sells the spaceship vibe to me!
LED lights were installed in the cases to highlight the plants.
The plant wall in the living area and shower are back-to-back and may appear to be the same wall. This was by design as a way to hide the pocket door that slides out from between them!
The Custom Bathroom
You may have noticed above that doubling the size of the shower took up the entire old bathroom floor plan. This meant moving and building a completely new bathroom for the toilet and sink.

The best part of this RV bathroom might be these amazing sliding doors that feel like living on a space station:

The bathroom doors were custom built by Casie and Igor. Frosted plexiglass was used for the windows.
Casie and Igor couldn’t find a bathroom sink to fit their dimensions—apparently even Amazon doesn’t sell sinks fit for a spaceship! They built their own custom-shaped sink to fit the space and then epoxied it.

Epoxy: A Renovator’s Best Friend
We can’t even list the number of things epoxied in this RV renovation. Even the ceiling!

I had to ask: Why so much epoxy?
“It is super lightweight but allows you so much creativity,” Casie says. “We were able to pour our own shower walls and pan from any shape we could create. I personally want to be super artistic but I cannot draw for the life of me.”

“Epoxy is something that allows you to be creative and it always comes out pretty. We’ve tried to mix ugly colors together and to still create something so unique. It’s also so affordable, so you can dump existing countertops of any material and make something new. “
Epoxy was used for the ceiling, shower, bathroom, sink, counters and even the custom table top for the booth.

We absolutely love the end result!
Epoxy is commonly used by RVers wanting to create tables or beautiful countertops, but the additional uses on the shower and sink are impressive.
So how do you make your own epoxy surfaces?
Casie gave us the low down.
“We personally use Stonecoat Countertops for epoxy, we’ve tried a few and they are the best we’ve found and they offer many many youtube videos.”
Here’s her list of tools:
- Popsicle sticks
- A propane torch
- Gloves
- Plastic sheets to cover the floor
- Isopropyl alcohol (“This gets epoxy off everything!”)
- Mica colors
- Undercoat of epoxy paint (this is your first coat)
- Blue painters tape
- Mixing buckets (Home Depot has great options!)
(Ready to epoxy? Add this whole list to your Amazon cart here.)
For the full how-to process, you can check out this video on Instagram to make your own epoxy masterpiece.
As Dark as the Night Sky

To keep with the spaceship design, you’ll see LED rope lights throughout the RV to brighten up the dark interiors.
The dark grey walls and cabinets were painted “Iron Ore” in color. Casie used a Graco Magnum paint sprayer to easily paint the RV. The Graco Magnum attaches right to a 5-gallon drum of paint and has a long cord, making it easy to use when moving through the RV.
Sound paneling was used to create a 3D effect on the walls as well as to drown out noise. This owner planned to take the RV to Burning Man, so noise-dampening was a necessity!
Every Last Detail ?

The renovators didn’t miss an inch of space in this RV, even renovating the cab of the RV. Not to mention adding a small bench with storage for your space boots!

The captains’ chairs in the front of the RV were completely reupholstered by an automotive seamstress and the dash was painted. They used vinyl fabric spray paint by Duplicolor to paint the dash. It took two cans and a sheet of cardboard to protect the glass.
You can see this process in more detail on Instagram.
What about the outside?
All of this interior begs the question—does the outside look like a spaceship too?!
Swipe to see!


Maybe not spaceship-like, but it’s definitely sleek!
What do you think?
What do you think of this wild renovation? Would you call this spaceship home? Drop a comment and let us know!
All photos in this article are owned by Tomaz Coast to Coast. Want your own custom-built RV? You can hire Igor and Casie here!
More Like This: 10 Before & After Photos That Show Off What a Fresh Coat of Paint Can Do!


Alyssa Padgett is the author of the best-selling book, A Beginner’s Guide to Living in an RV. She loves all things #RVlife and travels full-time around the globe with her family of four.