Replacing RV Flooring: A Complete Guide For Removing and Installing
This post may contain affiliate links.
If you are new to RV updates and projects, diving into replacing RV flooring may be a little intimidating. However, being prepared and knowing what to expect is key when starting a new DIY RV project, and it can make a huge difference!
Before you start ripping out carpets and prying up tiles, read over these tips and resources from RVers who have updated their RV flooring successfully. Also, note that making major changes like updating your flooring can void your warranty if you have one.
Removing Old RV Flooring
Removing old carpet or other flooring is a time-consuming and exhausting task. However, the results leave you with a clean slate to install fresh flooring that better fits your lifestyle and design aesthetic. Plus, you’ll also be removing all the dust, dirt, and grime of years past!
Removing Carpet
Ripping out old RV carpet takes tools like pliers, a utility knife, and a lot of muscle. Don’t forget removing your RV furniture to get to the carpet may not be as easy as in a traditional house.
For the most part, it is just a lot of pulling and cutting. The hardest part will be removing the edges of the carpet, often held down with metal strips or wood with a bunch of little nails. Keep an eye out for sharp objects as you start ripping everything up! Gloves are recommended.
Here are some examples of RVers who have successfully removed their carpet:
- Removing Ten-Year-Old Carpet
- Tips for Removing RV Furniture to Recarpet
- Replacing RV Carpet for Less Than $60

Removing Peel & Stick Flooring
If you are considering removing the peel-and-stick wood or vinyl tile flooring in your RV, it should be fairly simple with a little effort and a crowbar. Plus, it has a nice clean look!
Here is an example of how one remodel involving peel-and-stick flooring removal went!
Removing Linoleum
Linoleum will need to be pried up similar to the peel-and-stick tiles, but some RVers have noted it can break off in pieces, making it more of a hassle to remove.
For insights into pulling up linoleum, read this article.
Dealing with the Subfloor of Your RV
Water damage or other issues will lead to needing to replace the RV’s subfloor in addition to the flooring above it. The subfloor is simply the layer under the flooring, usually made of particle board. It is prone to damage if exposed to too much moisture.
Underlayment is another layer sometimes used under non-carpet flooring. If doing renovations, you may also need to rip up and replace this layer also.
Repairing Subfloor Damage
Here are some stories from RVers who repaired their subfloor damage as part of their flooring updates.
- Replacing the Floor in an RV
- Repairing Floor Soft Spots
- Fixing Slideout Soft Spot
- How to Replace Rotted Wood Flooring
- Floor Replacement in a Vintage Airstream
Handling Tricky Areas When Installing Flooring in Your RV
There are certain areas that tend to be a little more challenging when replacing RV flooring. Be sure to read these tips before getting started to avoid issues.
RV Slide Outs
- Tips to Replace the Flooring Inside an RV Slide Out
- How to Replace RV Flooring With a Raised Slide
- Replacing the RV Slide Flooring
Stairs
Motorhome Engine Cover (“The Doghouse”)
Types of Flooring Options for Your RV
There are multiple different types of materials you could potentially use when replacing your RV flooring. Peel-and-stick vinyl or linoleum are common choices, especially the wood plank look.

Here is a list of RV flooring options and examples of how they were used in remodels:
Carpet
Sheet Vinyl/Linoleum
- Installing Wood-Colored Sheet Vinyl
- Why One RVer Chose Vinyl Sheet Flooring
- Remodeling with Linoleum Flooring
Peel-and-Stick Vinyl
Interlocking Vinyl Planks (Wood & Tiles)
- Reasoning for Choosing Interlocking Vinyl Plank Flooring
- Replacing Carpet with Vinyl Wood Flooring
- Installing Vinyl Tiles
- Using Engineered Vinyl Flooring
Floating Laminate
Other Less Common Flooring Options
- Hardwood – How to Install Hardwood Flooring in an RV
- Ceramic Tile – Tiling Your RV for Beginners
- Cork Tiles – Airstream Cork Tile Installation
- Luxury Woven Vinyl – Installing LWV Flooring
- Recycled Wood Pallet Flooring – Video of Pallet Wood Floor Installation
- Plywood Plank Flooring – Affordable DIY Wood Plywood Flooring
- Geometric Wood Flooring – DIY Geometric Wood Flooring Tutorial
- Stencil Painted Subflooring – Tutorial for Painting Your Subfloor
RVers who tend toward more creative DIY ventures may even come up with new solutions to replace their flooring! Just be sure to pick materials that won’t damage your RV and keep durability in mind.

Pros & Cons of RV Flooring Options
When comparing the different RV flooring options, consider how easy the installation would be, overall cost, ease of maintenance, and durability. Reading reviews of the flooring product is also important to avoid issues.
For example, vinyl is a popular option for RVs, but many reviewers note a problem called “off-gassing” where chemicals taint the indoor air quality, produce a smell, and can be unsafe. Some options, like plank vinyl, are difficult to install as well.
You should definitely also consider functionality and comfort when choosing your RV flooring. While something easy to clean may be ideal when traveling with kids and pets, having more insulation and comfort from carpet might be the best bet if going to colder climates often.
This article shares more comparisons to keep in mind when choosing RV flooring.
Inspiration for RV Flooring Renovation
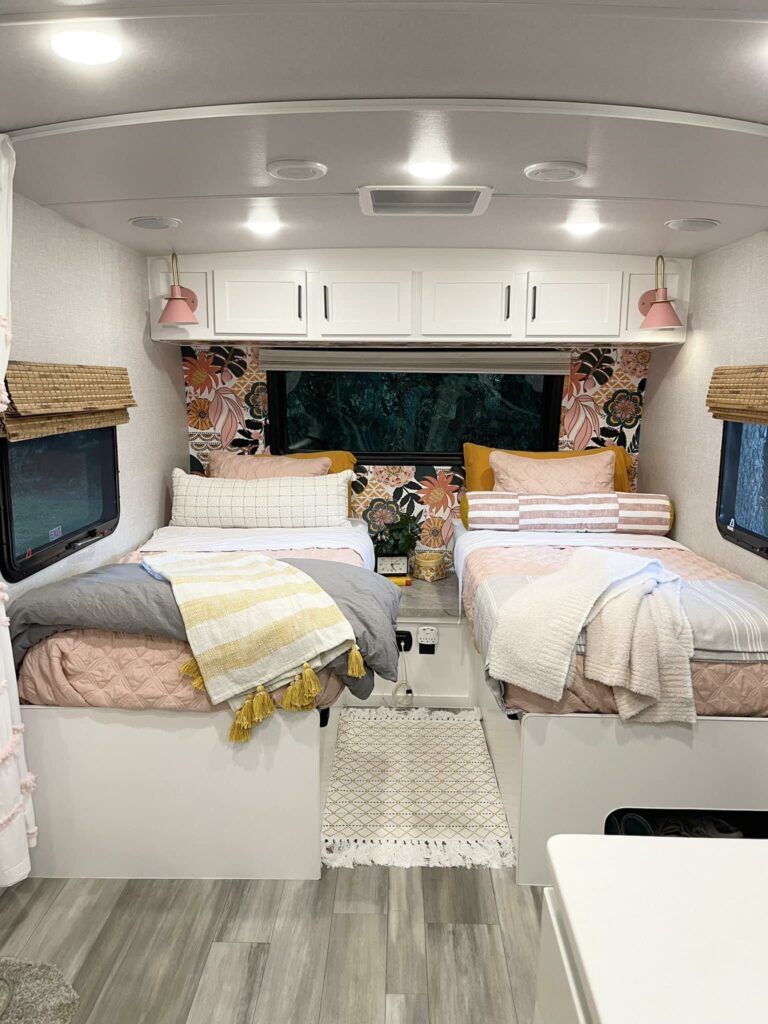
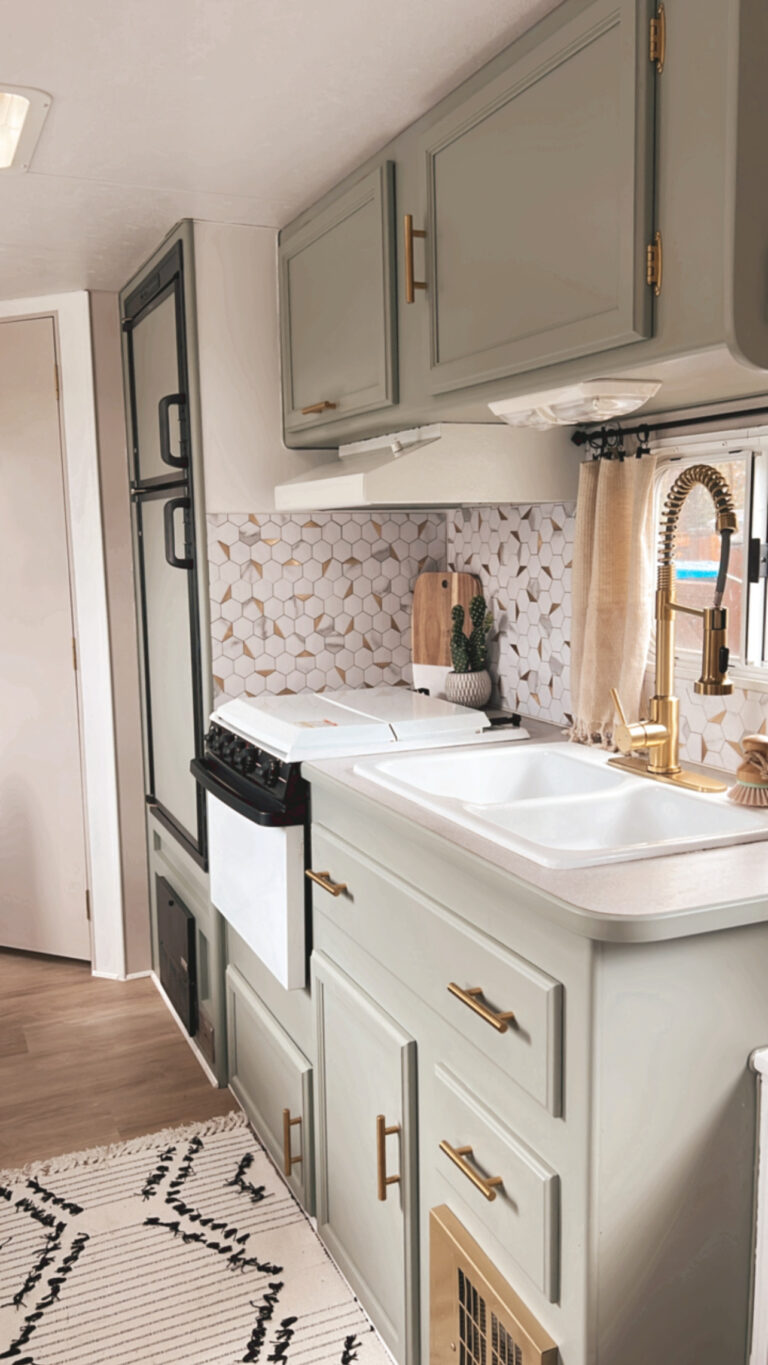
Now that you have all of the information you need, now it is time for inspiration! We hope you enjoy checking out these articles on RV remodels that include a variety of types of flooring replacements – from peel-and-stick to tiles and more.
- Bus Reno with Cork Square Flooring
- 20 Boho RV Remodel with Various Floors
- Family Motorhome Reno with Click Vinyl Flooring
- 10 Beautiful RV Renovations
Have you replaced your RV flooring? Please share about it in the comments!


