This Epic Bus Conversion Costs Less Than $35K
This post may contain affiliate links.
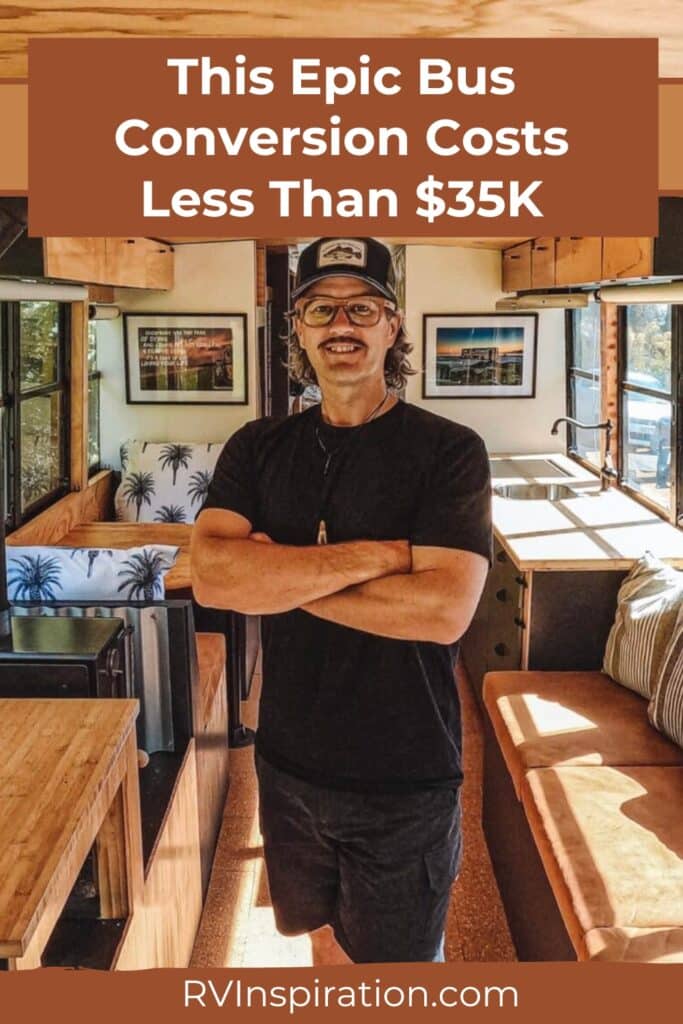
Doing a bus conversion is no joke. In addition to the costs, sweat and labor that goes into one, they’re just really hard (so I’ve been told, haven’t been bold enough to take on my own). However, the man in today’s blog post has converted not one, but TWO buses. Completely from scratch. He is a mad man (jk, we love you Andy).
Major thanks to Andy from Bus Life New Zealand for providing these incredible images and taking the time to share his knowledge with us. You can find him sharing more awesome photos of his bus conversion over on Instagram.
Here are a few things we cover in this interview with Andy:
- How much it costs to do a bus conversion
- Andy’s favorite feature on his bus
- The most challenging part of converting a bus (or at least this particular one)
- Advice for anyone who wants to do their own bus conversion
- Mistakes to avoid when doing a bus conversion
Watch the Full Walk Through of Andy’s Bus Conversion Below
Before we get into Andy’s interview. Here is a photo of what this bus looked like a mere 8 months ago.

Okay, let’s get into the interview.
What are the specs on the bus?

This is a 11M (36ft) bus.
The specific make is a 1994 Hino HT (if you know your buses from the early 90’s, don’t we all?).
Specs:
- 250L fresh water
- 250L grey
- OGO composting toilet
- 4 X 120AH Lithium Batteries
- 800W solar
- 1600W inverter
I have a “Dolly” trailer so I can tow a small car behind the bus and also have a 3.5m inflatable boat and 15HP outboard motor for fishing and adventures.
Why this particular model?

I went for this bus because it had a really good clean chassis with no rust. It had awesome big opening windows with excellent floor to ceiling height. This means a roof raise wasn’t necessary.
It is a 9.9L Diesel Pusher so it has plenty of power for the hills and mountain passes around New Zealand and will tow a vehicle easily.
This was your second bus conversion. What mistakes did you make on the first one that you hoped to avoid on this one?

On the first bus conversion I tried 3 different set ups for the solar panels, batteries, charge controllers until I was comfortable that it fit my needs. This time around I learned my lesson. I have an excellent set up with 24V Lithium batteries and 800W of solar.
I also made the mistake of moving into the first conversion well before it was complete. I learned that working on it while you are traveling AND living in it is pretty difficult.
This time I wanted to make sure it was very close to complete before moving in. This build will end up taking about half or three quarters the time of the first conversion and is a better finished product.
Overall I think the main thing was confidence to get each component started and knowing the order in which to take each step made it much easier.
What’s your favorite feature on the bus?

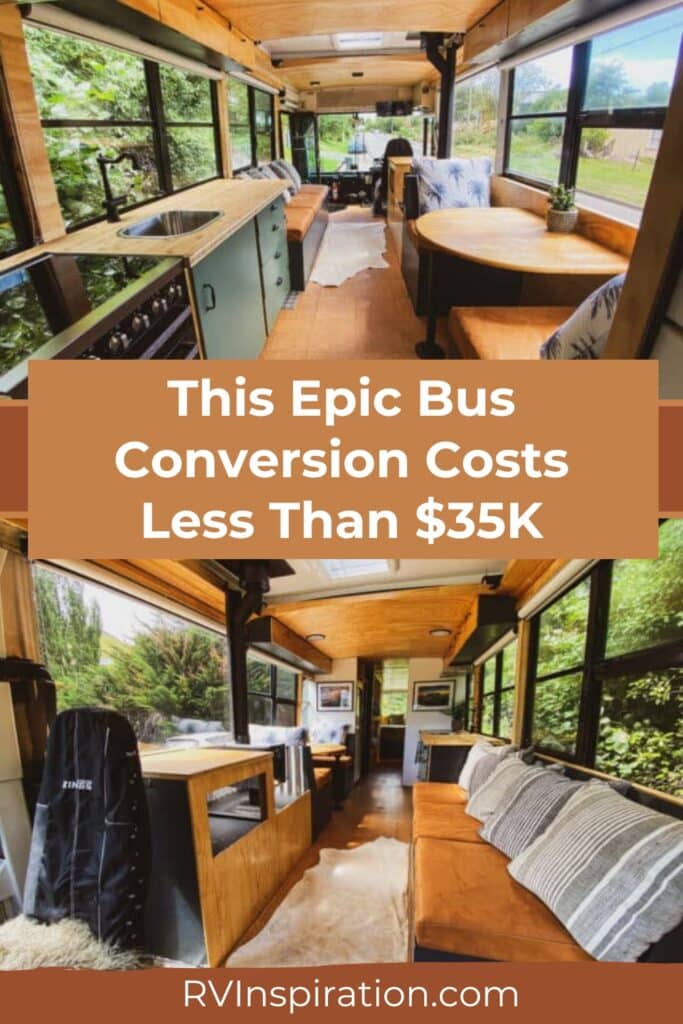
The table/desk area where I reused the family dinner table from my house.
It’s nice to have that come with me into my new home and happened to fit perfectly in the space.
Funny enough, I bought this table for $20 off Facebook marketplace about 3 years ago and sanded it back, oiled the top and painted the legs.

Related article: RV Owners Who Have Replaced Their Dining Booths
That table actually became the design/color inspiration for the whole bus interior. I used the same color that I used on the legs for a lot of the features in the bus and I think it goes really well with the natural timbers.
What was the most challenging part of the build-out?
The most challenging part is always just the time and effort it takes. It’s a much bigger task than most people think. I didn’t really have a life for the last 8 months and spent every spare hour on it. Probably 30 hours a week for the 8 months, on top of my normal job and being a single Dad with 50/50 shared custody. It was a busy time!
What advice would you give to someone who wants to spend time converting their own bus?

Know that it’s a big job but totally doable if you just take it step by step. You just need the discipline to keep working at it. Everything you need to know is available online on Google & YouTube so just do your research and get at it!
How much does it cost to do a bus conversion?
The bus cost me NZD$10K and I probably spent another NZD$35-$40K on the fit-out. This equates to roughly $32K in USD.
What is the most expensive part of renovating a bus?
Big one-off costs were the seatbelts due to NZ regulations which cost NZD$5K and the tow bar which was NZD$2500. It had to be done to NZ regulations and both had to be certified to be legal.
What kind of fridge did you use?
The fridge I used is a domestic Samsung Digital Inverter Fridge that runs off a 1600w inverter. They are super economical and a great alternative to expensive RV fridges. The wood stove is an 8KW “Roaring Meg”. It also has a 13.5L Propane Hot water tank and Dometic Stove & Oven run on Propane.
What is the most unique part of the build?
I really like how I utilized the raised cavity where the old bus air conditioning unit was.
I removed the old unit which had already been decommissioned (it was super heavy, about 200kg!) and lined it with wood boards, and painted them with white water-based enamel to help brighten up the space. Then I put the wood stove under it and ran the chimney through it.

I also added a skylight/vent in there. I love how it gives the bus a much more open & spacious feel by having that raised ceiling space above the main “lounge area”. I’ve seen a lot of people here in New Zealand who cut that raised roof section out completely and then put new metal sheets over it so it’s all one big uniform flat roof but I’m glad I went this way because it definitely gives it a unique feel.
Other Features of Andy’s Bus Conversion:
The bedroom has large windows with a generous bed.

And last but not least, two epic bunk beds for Andy’s kiddos.

Andy’s Top Tips for Your Own Bus Conversion
- Nail down your solar package (as much as possible) prior to moving forward. This is an expensive element to a build and important to get right from the beginning.
- Don’t try to live and travel in your build before it’s complete. While possible, it will dramatically extend your build time (and likely affect your sanity).
- Know what you’re getting into before you start. It’s possible and there are a lot of resources online, but it’s going to take serious dedication
Again, thank you so much Andy for taking the time to share your knowledge and beautiful build. Show him some love on Instagram. 🙂


Heath, Great story on Andy. We love what he did with the bus.
Our best to you and Alyssa and the kids on buying the business. Having a business that can be done remotely will continue to provide the freedom to travel and work from the road as it makes sense for your family. You are getting a lot of practice buying and selling. Perhaps your next gig is as an online business broker!
Paul! It’s something I’ve already considered haha. I don’t think I need to add that to our plate currently. I do thoroughly enjoy the whole practice of buying & selling businesses though (so you never know!). Hope you are well and thanks for stopping by!