8 Awesome DIY RV Shower Remodel Ideas
This post may contain affiliate links.
If you are considering an RV shower remodel or complete renovation, here are some ideas to inspire you—from simple additions to full-on renovations. Plus, tips to make sure your renovations are a success!
Just remember any major RV remodel can often void your warranty, so remodel at your own risk. Take extra care to ensure you don’t end up with plumbing damage or long-term issues due to water getting where it isn’t supposed to be.
Although some DIY RVers choose to remodel fully, a camper shower remodel doesn’t have to mean starting completely over. Switching out fixtures, accessories, and other simple updates can make a huge difference.
We’ll be sharing options for every level of DIYer. Let’s get started!

Easy & Inexpensive Camper Shower Remodel Inspiration
Do you want to add quick and simple changes to your rolling home’s shower to make it look updated or match your preferred style? Luckily, many budget-friendly RV shower makeover ideas shouldn’t take more than a few hours max.
You can also do these projects a little bit at a time to make sure you don’t overspend or over-commit on time!
1. Use Peel-and-Stick Tiles to Add Color & Style
Ripping out and replacing the unattractive shower surround is a timely and intimidating task. However, peel-and-stick tiles are an excellent solution for beginner DIYers. Don’t forget to add a few coats of waterproofing to the walls before starting this project.
Read more about installing peel and stick tiles here: Peel-and-Stick Tiles for RVs: Shopping & Installation Gudie
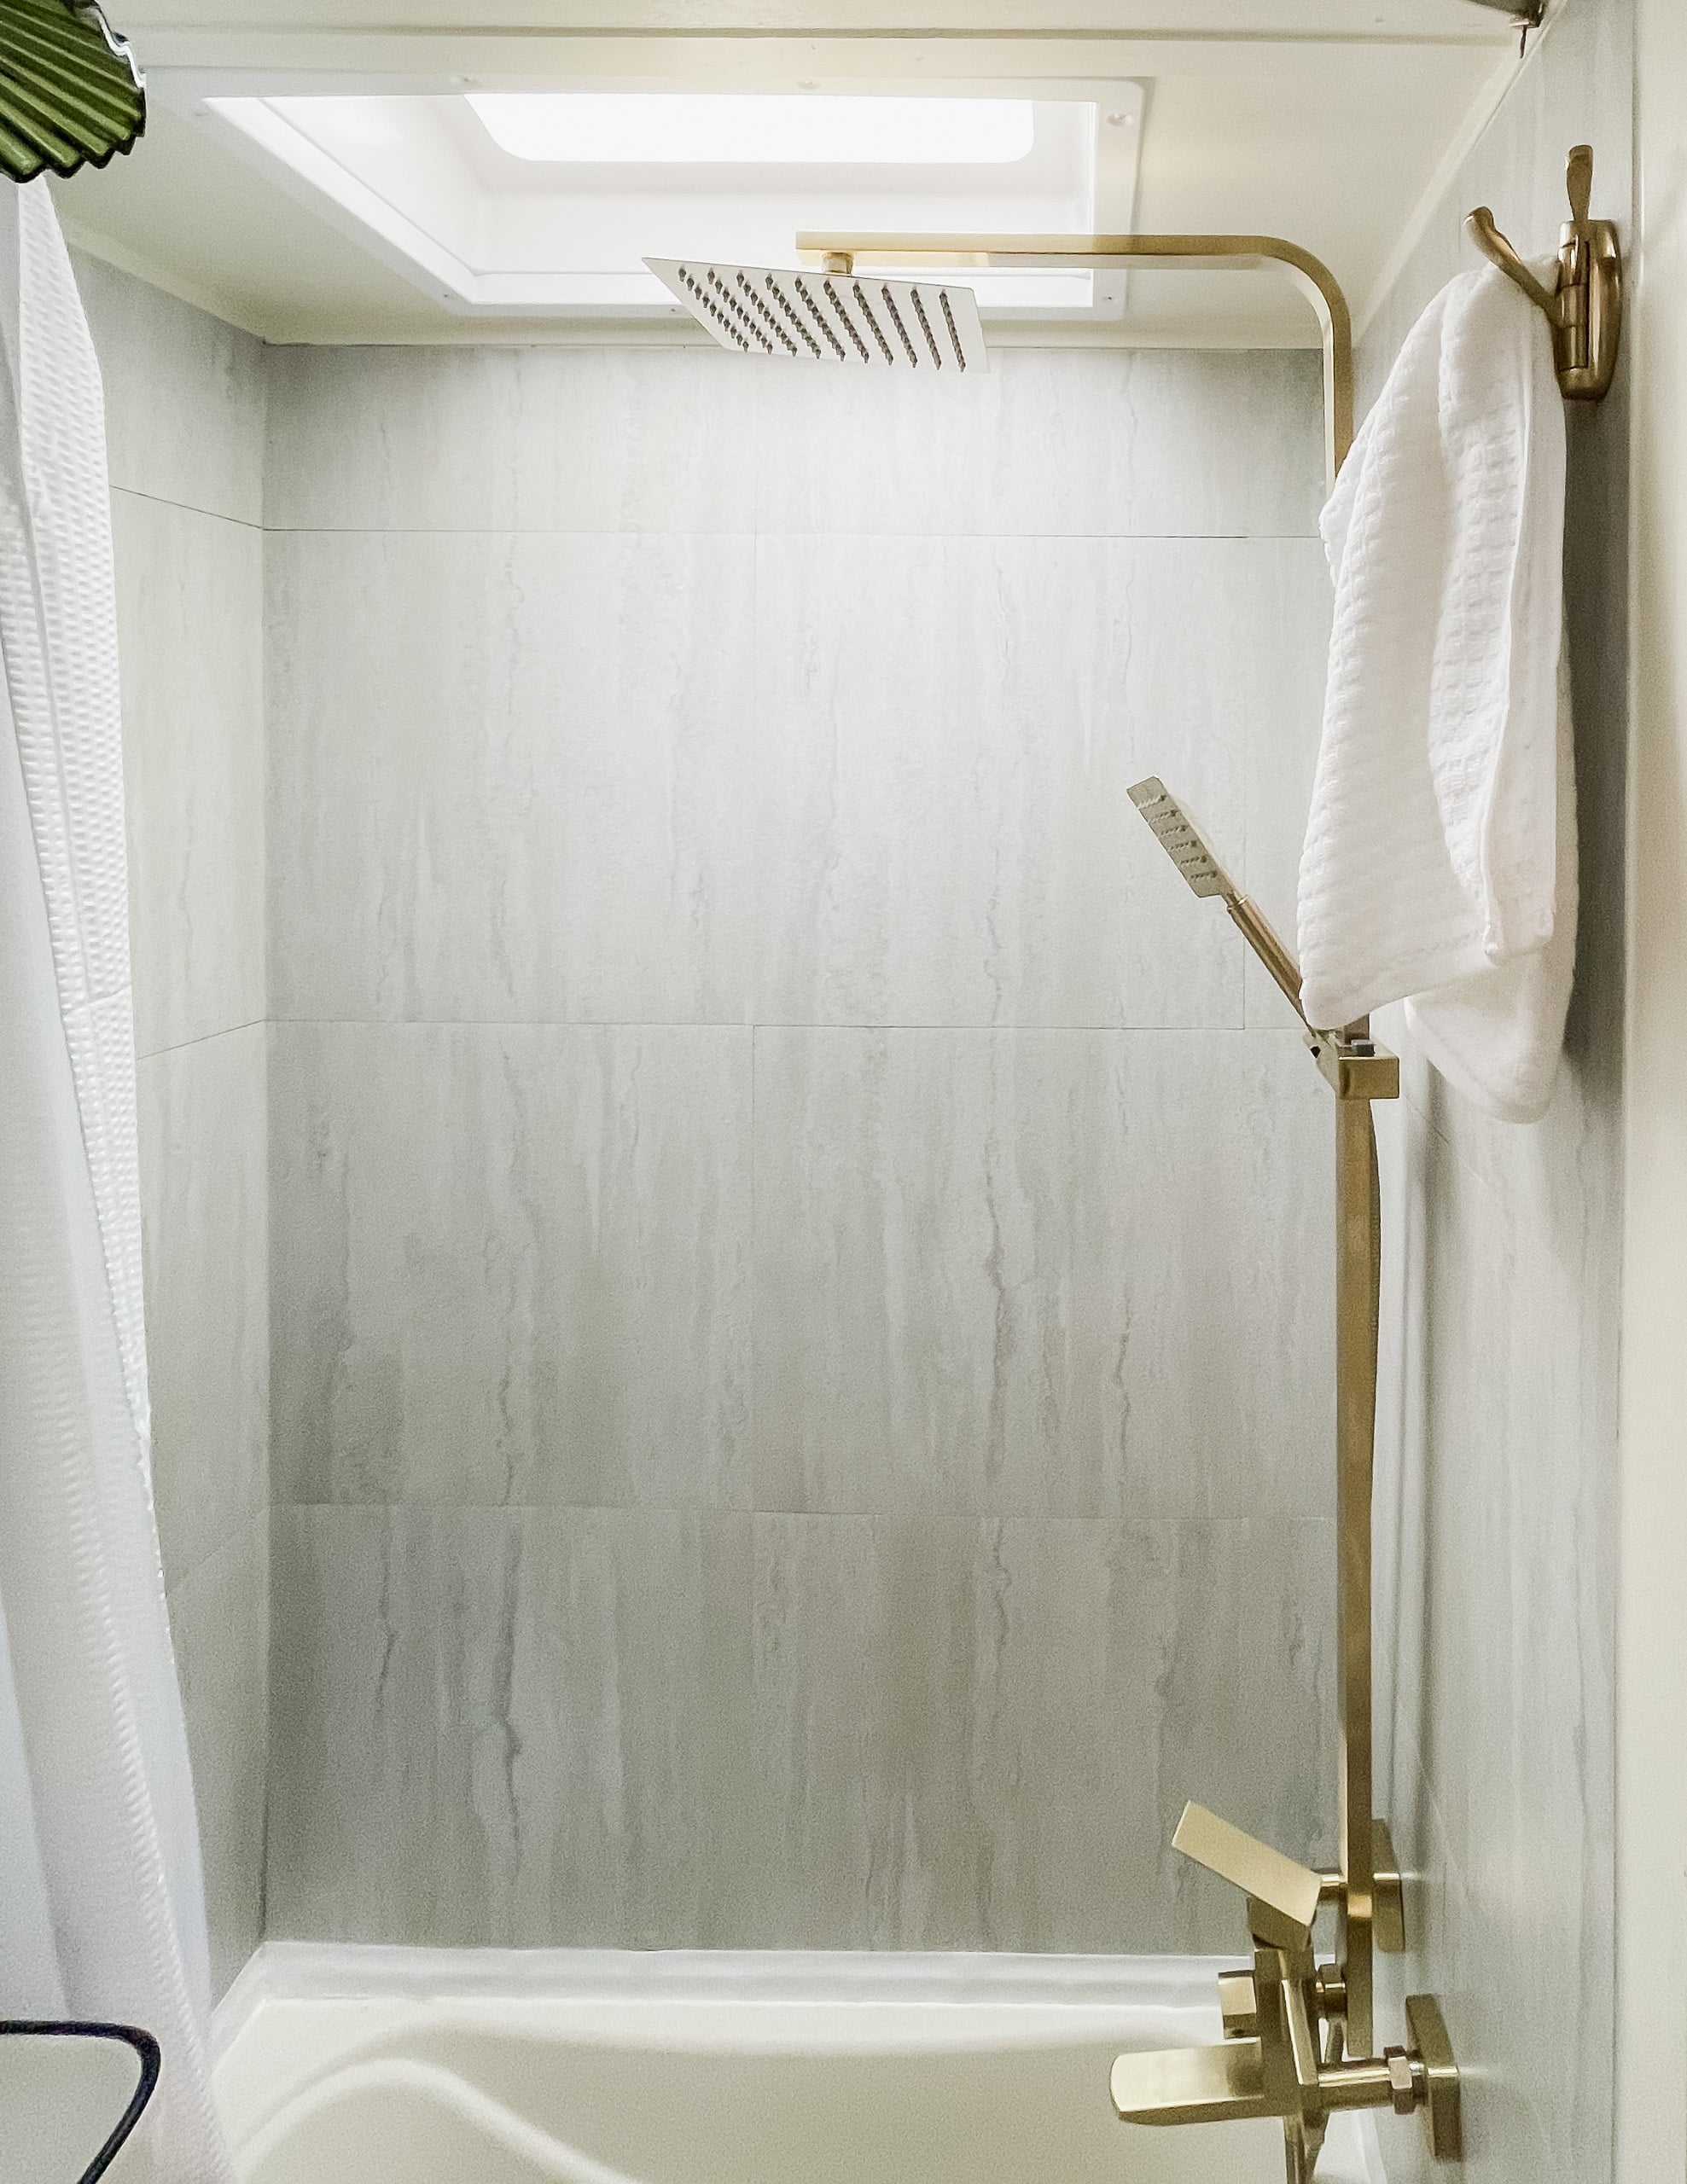
Here are some highly-rated waterproof stick tile options:
2. Create In-Shower Storage
Finding a secure place for all of your toiletries will help you stay more organized and keep your bottles from spilling when on the move! There are various options – from a multi-level shower caddy to wall-mounted soap dispensers.
Get more shower storage ideas and RV bathroom organization tips here: 30+ RV Bathroom Storage and Organization Hacks
If you already have shelves built into your shower, but everything falls off of them during travel, consider building your own “walls” along the shelves. You can do this with a bit of plexiglass and acrylic tape. Read the tutorial here.
3. Get a New RV Shower Head
An improved showering experience can be yours with a quick click on Amazon (and possibly a short trip to the hardware store for basic tools). You could even get a fancy rain shower head to make it feel more like a spa! Many RV-specific options also come with water-saving features that can also increase the pressure in your RV shower.
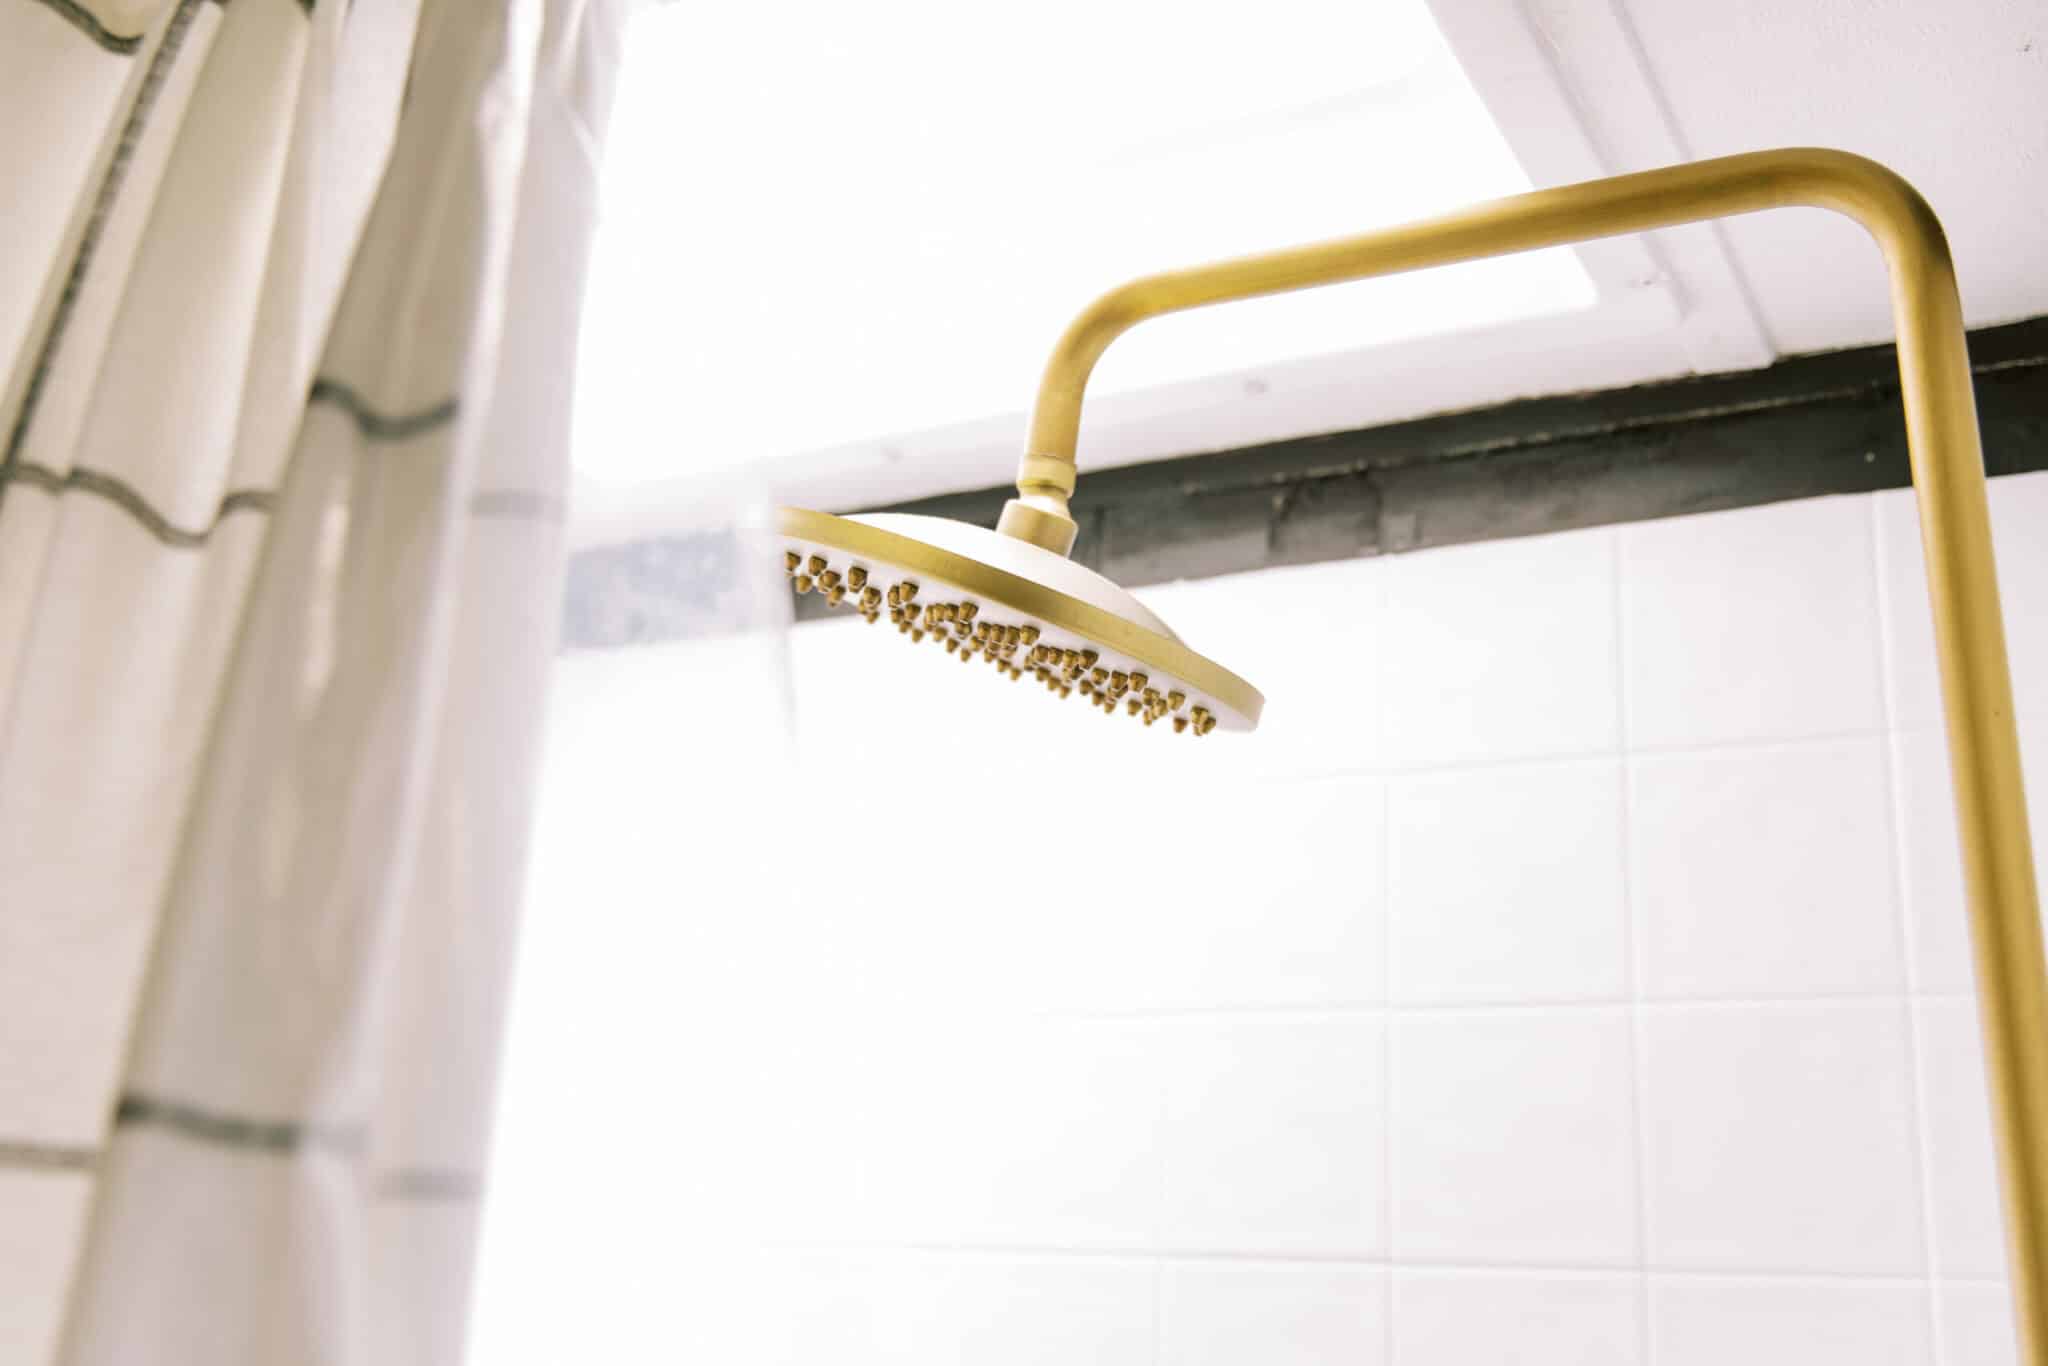
Brass and gold fixtures are popular this year and give your camper shower a luxurious vibe! Copy this look easily with a new showerhead from Amazon:
- HIGH PRESSURE RAINFALL SHOWER HEAD: Our luxury bathroom rainhead is the perfect replacement that will jet out high-pressure rain of hot water so your whole body is doused with the downpour. You won’t go back to a normal shower again
Here are some of the top-rated RV-specific shower heads:
- Oxygenics Handheld Shower Head
- Water Saving RV Shower Head
- Rain Water Shower Head with Handheld Shower Want
DIY RV Shower Remodel Ideas
Do you want to make the very most of the small space used for your camper bathroom? Completely changing the look of your shower as part of an RV bathroom remodel can have a considerable impact. RVers who live in their rigs full-time may be especially keen to make an update!
If you’ve decided this is your best option, just make sure you have a well-researched plan before heading to Home Depot. And don’t forget to check where your water lines are!
4. Change Out the Shower Door for a Shower Curtain

The first thing you see in your RV bathroom is the (usually never quite clean enough) shower door. Switching from a shower door to a curtain can be a multi-hour task depending on your RV. But this seemingly small change can dramatically alter the look of your RV bathroom and make the space feel larger.
It is much easier to clean a curtain also!
How to Remove RV Shower Door
To remove the shower door, you’ll often have to unscrew each shower door piece from the wall and then pry them off. Be sure to clean off any residue, especially if you plan to paint. Then, simply put up a tension rod and your curtain of choice for a more modern look.

Renovator Rachel Reed completely remodeled her RV bathroom with a fresh linen shower curtain, gold mirror, and built-in shelves for storage and decor.
5. Take on a DIY RV Shower Pan Upgrade
Your RV shower floor can look dated fast. The shower pan commonly needs a refresh in older rigs or a used RV. For the simplest solution, you can clean and paint the shower pan.
However, you can also buy a new replacement. Just be sure to keep in mind that there are multiple RV shower pan sizes, so you need to find the best fit for your space.
6. Update the Shower Walls with Paint or Tile

Harness your inner interior design influencer and create a stylish shower by updating the walls. A fresh coat of paint always works wonders in any space! You can use spray paint (DIYers suggest a two-part epoxy) or a brush-on paint specific to showers (like Homax).
Must Read: Our full guide on how to paint your RV shower from yellow to white!
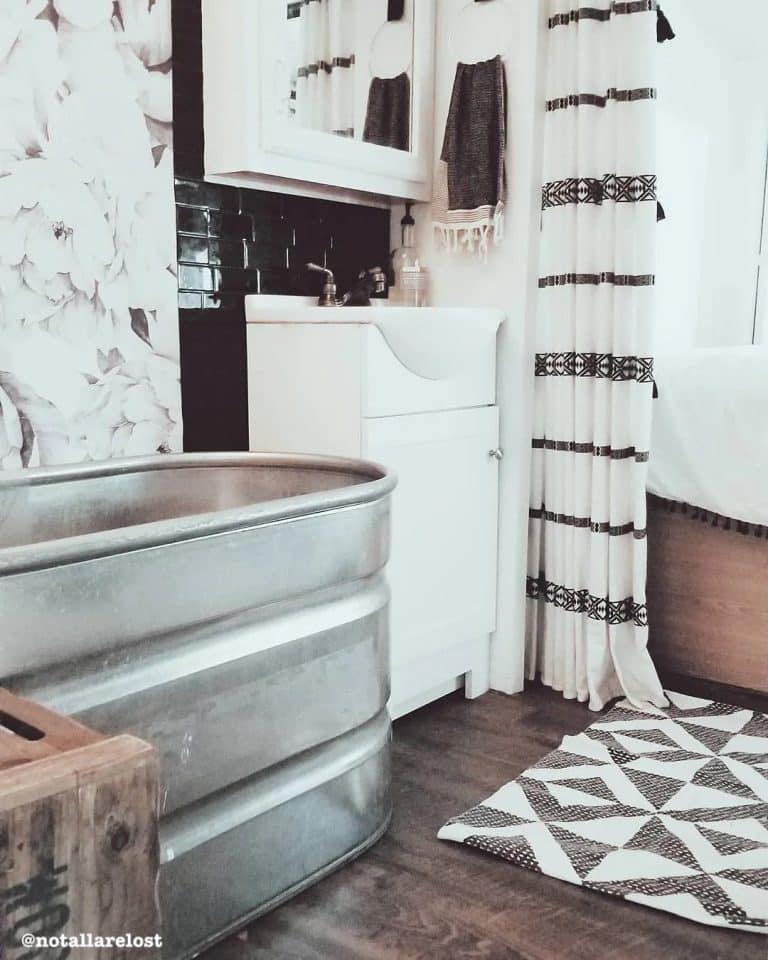
Full-time traveler Andy renovated an old school bus and built the shower (above) with corrugated metal and a simple shower curtain.
See Andy’s complete bus renovation (and the wild before-and-after photos!) here.
7. Consider Switching to a Bath
If you are updating a second bathroom or prefer to take a bath, installing a small bathtub in your RV is possible and has been successfully done before!

However, adding a bath in an RV does come with some critical considerations:
- Does your current hot water tank have enough capacity to fill up the bathtub?
- Will you have access to water fill-ups often enough to use the tub? If you are an avid boondocker, it probably isn’t the best idea!
- Will you have enough space in your tiny RV bathroom for a tub? It may not be worth the effort if it just ends up being a foot bath.
- You should also consider the weight once filled up. Since your RV’s bathroom was not made with holding a bathtub in mind, having that kind of extra weight on your floor could cause damage. Water damage is not something you ever want to deal with!
See more RV makeover bathtub ideas and tips for installation.
8. Do a Complete RV Shower Remodel
If you are up for the task, you can rip out the existing shower and put in a pre-made new shower surround or a DIY shower enclosure. This is not a project for anyone on a tight budget or without much time because it will be much more involved.

We love this complete renovation from Ashley of Tiny Modern Farmhouse! If it weren’t for the foot pedal on the toilet, we’d never guess this gorgeous new bathroom was in a camper.
Psst! You can actually copy the above look without removing your existing doors!
Professional RV renovators, Wayland Ventures, did this on a recent remodel. They used 1/4 screen molding spray painted black. They all they needed was a good level and clear adhesive! This is an easy way to revive those old doors for under $100.

Renovating your camper shower could be a stand-alone project or done as part of a full RV bathroom renovation—complete with new light fixtures, updated cabinet doors, a new toilet, and more modern vinyl plank flooring. It all depends on what you have budgeted for your camper remodel project and your skill level.
FAQ for Remodeling an RV Bathroom
How do I update my RV shower?
You can update an RV shower by adding a fresh coat of paint, putting up stick-on tiles, updating fixtures, and switching out the shower door for a shower curtain. If you are a skilled DIYer, you could even rip it all out and rebuild, but that will be a timely and expensive venture.
Can you use peel-and-stick tile in a camper shower?
Yes! Peel and stick tile is great for an easy and inexpensive DIY RV shower upgrade.
Can you paint an RV shower?
Yes, you can paint an RV shower! However, just be sure you use paint meant to be in a wet environment. Read our complete RV painting guide here for more tips.
What is the cheapest way to remodel an RV shower?
Updating your tiny bathroom in your RV can definitely be done on a budget! Change out the fixtures, add some stick-on tiles, and get a nice shower curtain for a new look under $200.
Brooke is a previous full-time RVer and long-time freelance writer and editor. Although she sold her motorhome to travel internationally, she has remained active in the RVing community through her client work and friends. In addition to two self-published books, Moving Away and Home Flexible, Brooke shares her travels, nomad tips, and other insights on TrailingAway.com.


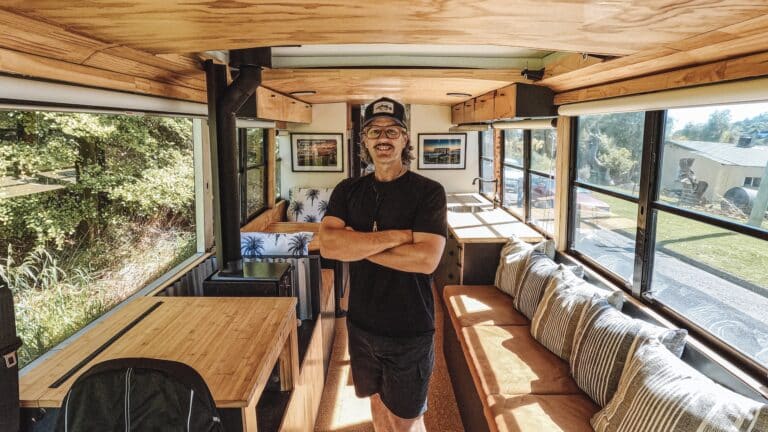
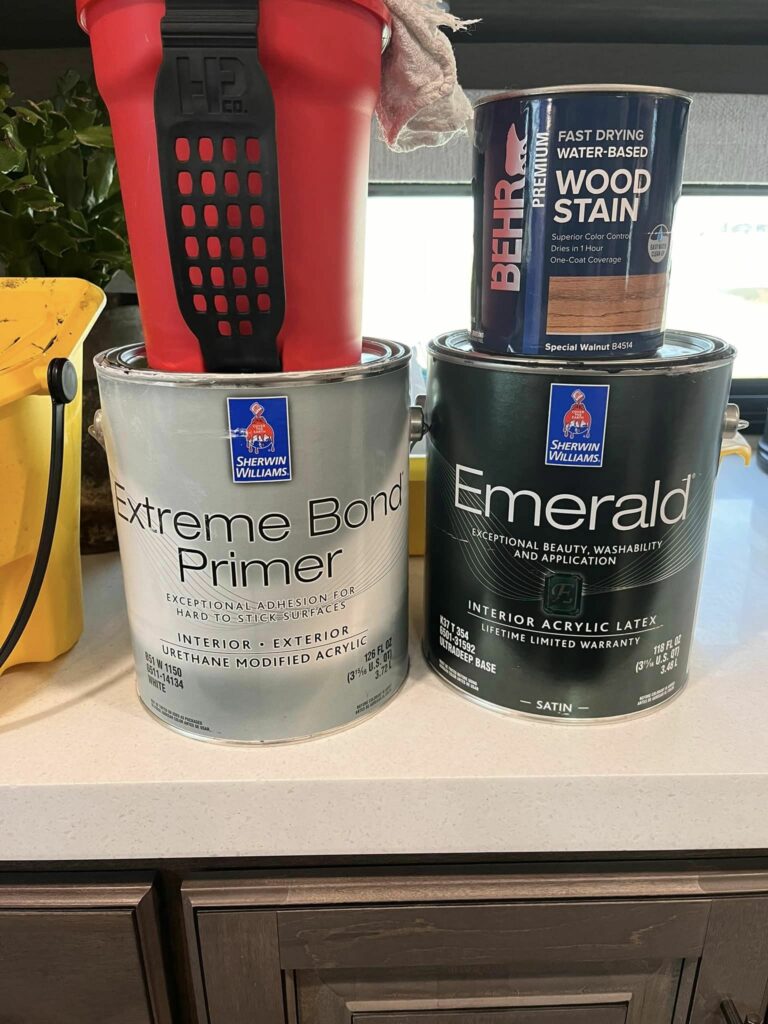
I want to take out the minuscule shower stall and make the whole small bathroom a “wet room” with a drain where the current shower drain is. This would make showers much roomier but I’m also hoping this would make any future bathroom overflows less catastrophic. The toilet got stuck on flush and filled the black tank and overflowed the bathroom, ruining the linoleum and subfloors so I want a water tight floor and walls and a drain for good measure! Anyone attempted something similar? I’m unsure of best wall and flooring material to accomplish this.
Oh that sounds catastrophic!! I have not seen anyone go from a dry bath to a wet, but I love this idea! You can probably use shower surround walls for the walls in the room (like this! https://www.homedepot.com/p/CRAFT-MAIN-Jetcoat-42-in-x-78-in-2-Piece-Easy-Up-Adhesive-Neo-Angle-Shower-Surround-in-Carrara-White-GFS424278-CW/306309746), but for flooring I would consult a professional on to make sure you use the best possible product! A leak would not be good!