Unique DIY Updates Make this Class C Renovation Shine
This post may contain affiliate links.
When you search for renovated RVs, you most often find fifth wheels. Nothing against trailers, but can we give motorhomes some love? RV owner Lee Ann Garrett shared her beautiful Class C RV renovation in our Facebook group and we couldn’t wait to share it with you!
Let’s start with the cab!
Beautiful Class C Renovation Design

In the cab of her motorhome, Lee Ann painted the cabinets white and added all new hardware. We love the decorative touches with battery-powered candles, wreathes, and a clock. This simple, classic design gives a great first impression when entering the Class C RV.
Are you renovating a motorhome with captain’s chairs that have seen better days? Read about motorhome seat makeover ideas here: How to Update Motorhome Seats: 5 Options for a Captain’s Chair Makeover
Recreate the look:
- Artificial Eucalyptus Wreath:This lovely wreath is handmade with fake green eucalyptus leaves and clusters of white flowers on a wired iron ring.It looks very realistic and eye-catching.
Creative Fabric Design Accents
One of the most unique additions Lee Ann made to this RV is the cane webbing accents in the cabinets. You can see this in the cab and throughout the RV.

The cane webbing was adhered with a 3M spray-on adhesive. Lee Ann added that she laid the webbing under some heavy pavers so it would be completely flat before application. Then, “spray heavily.”
The rattan cane webbing came from Amazon:
- Natural material: Made from natural rattan imported from South East Asian countries. The cane webbing is environmentally friendly, non-toxic and insect-proof
Adding accents to your RV cabinets is a great way to make them more visually appealing and add texture to a room. Check out these 14 Ways to Update Your RV Cabinets for more inspiration.
A Fresh Coat of Paint for the Cabinets
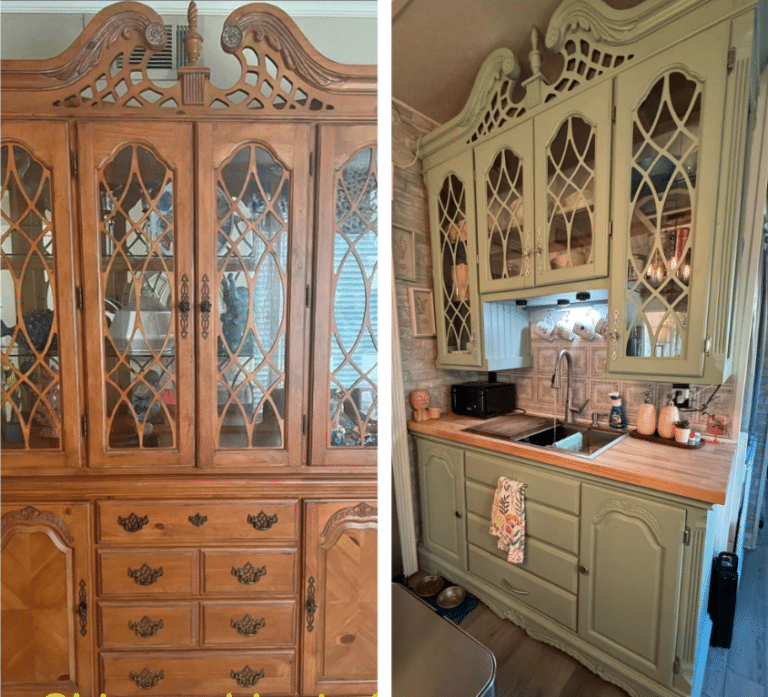
Moving into the kitchen, Lee Ann stayed creative with her cabinets opting for navy blue lower cabinets and white uppers.

The lower cabinet color is Hales Navy by Benjamin Moore. Before painting, Lee Ann did a lot of prep work to make sure the cabinets looked professional. She “sanded, cleaned well with TSP, added 2 coats of Kilz primer, and 2 coats of paint. We did lightly sand between coats.”
The flawless finish was applied with a brush—no specialty paint-sprayer needed!
Lee Ann completely replaced the countertops in the kitchen with a 1-inch butcher block from Home Depot. There’s no stain on the shiny new counters, but you do need to “continue to apply the conditioner” to keep the counters looking beautiful.
This brand is our go-to:
- Revitalizing blend prevents drying and cracking of hardwoods and bamboo
A Large Sectional Sofa Completes the Living Room
If you’ve been wanting to see a LoveSac in an RV, here is your chance!

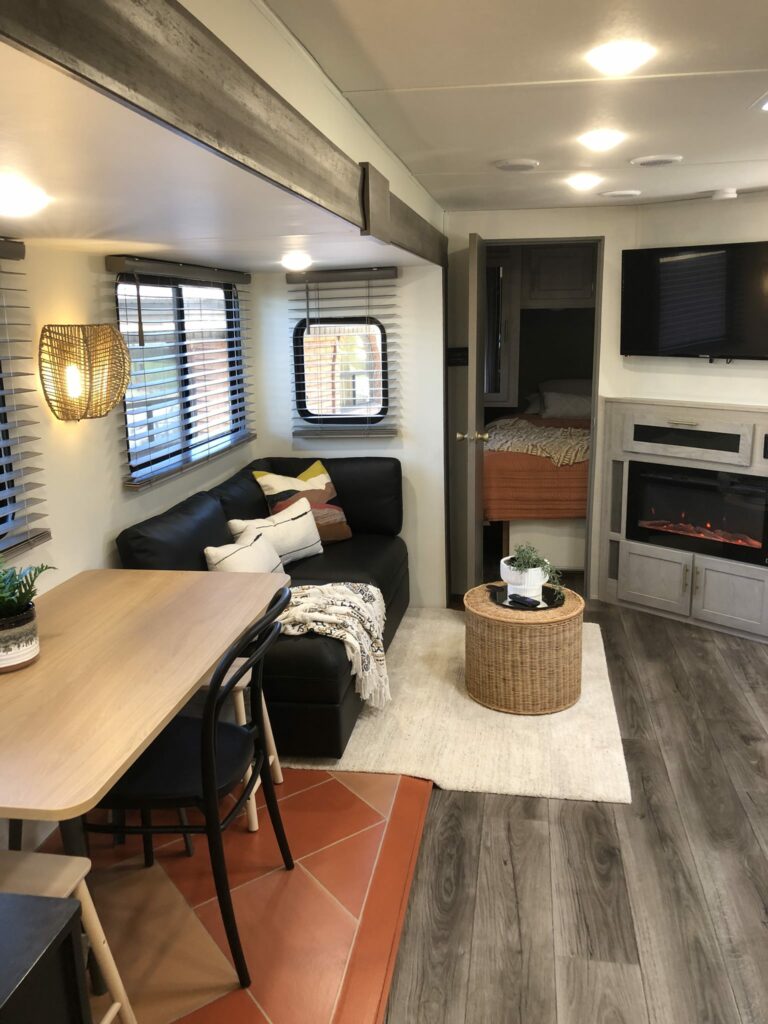
Their couches may be pricey, but this one looks great with added decorative pillows and throws. Lee Ann noted that the couch sits on the slide out and is secured to the floor.

Beautiful wood floors, a rug from Pottery Barn, and decor make this short Class C motorhome feel like home.
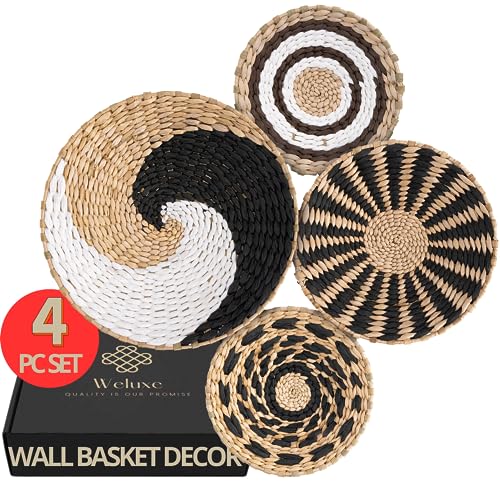
- ENHANCE YOUR SPACE - Our Macrame wall hanging baskets are carefully crafted and is always finished to perfection. This makes every piece one of a kind and unique.
DIY Entertainment Center for the Master Bedroom
Now to my favorite feature on this Class C renovation: the bedroom. Namely, this entertainment center wall.

Lee Ann used “lightweight decorative wall boards from Home Depot” to create a natural wood horizontal shiplap. The most difficult part was installing the fireplace, including running the wire to a separate breaker on the RV.
Peel-and-Stick Tiles Shine in This Bathroom
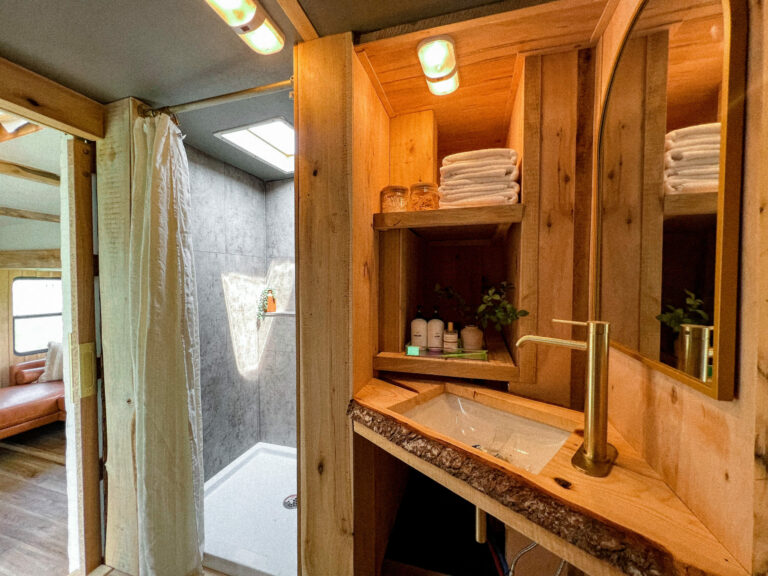
Lee Ann did a complete remodel in her bathroom, with new countertops, a new sink and faucet, new light fixtures, and a gorgeous peel-and-stick tile backsplash.

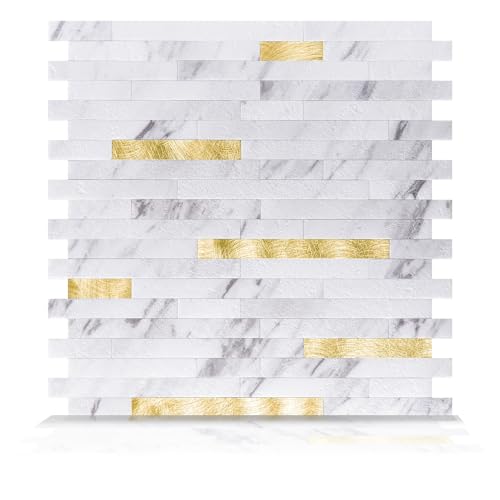
Recreate the look with this white marble and gold backsplash:
- Easy DIY, Just Peel & stick, cut with tin snip , utility knives or hand saws, saving large amount on labor.
DIYer Tip: How to Install Peel-and-Stick Backsplash
A peel-and-stick backsplash is the go-to choice for RV renovations. It’s lightweight and inexpensive. There are thousands of design options out there, whether you want a simple white subway tile or a colorful, one-of-a-kind backsplash.
Peel-and-stick tiles will come with an adhesive. In some cases, this adhesive is all you’ll need. But if you’re installing in a bathroom that includes a shower or if you’re installing around a stove, you may consider extra adhesive.
RVers have tried:
- A dot of Gorilla Glue in the corners
- Acrylic latex painter’s caulk applied along the edges
- Elmer’s spray adhesive (for a permanent bond)
- Wallpaper paste (also permanent!)
Before installing, don’t forget to prep your walls according to the instructions. A heavy-duty cleaner like TSP can remove any grease or residue left behind—especially in kitchens!
A Showerhead Makes All the Difference!
Looking at the Facebook comments, everyone’s favorite feature in this RV had to be the showerhead! It definitely gives the bathroom a more upscale feel and probably improves the shower experience as well. Read our guide on how to replace the shower faucet in an RV.

Recreate the look:
- Anti-Scald Valve: This luxury rainfall shower system is equipped with a pressure balance shower valve which can protect you from being scalded by sudden changes in hot or cold water pressure, safety and convenience, especially for kids and elderly
Since this shower isn’t enclosed as part of the bathroom but is open to the rest of the house, choosing a curtain that matches the home’s design is a great way to disguise the shower.
Class C Renovation – What do you think?
We love seeing the big changes Lee Ann made to make this 2005 motorhome a modern beauty. What do you think? Share your thoughts and questions in the comments!
More Like This: 10 Before & After Photos That Show Off What a Fresh Coat of Paint Can Do!






Wow … This may be the classiest reno yet! While I like a bit more color, the ideas and the detailing here are gorgeous! And I LOVE the big sectional–worth giving up a table and chairs for. Besides, when we were fulltiming, we almost never ate at our table (a 20×30 inch console that expanded and could seat 7 in the RV) unless we had company. My husband said it must be a really big Class C, but I think it only looks that way because of the big sofa. Saving this one!
Absolutely LOVE this re-do!!!!! Not one thing I would change. So much you can do with a small RV. I really like the older ones also as I find they are set up better for living in thank some of the newer ones that tend to try to put more stuff in small places that’s really not as user friendly as the older ones. Good job!!!!
I absolutely love this. Do you have an eating area though?
Took out the dining area for the couch!
Just stunning 🤎, my husband and I are currently looking for a class c. I’m glad to see you removed the dinnette, I much rather sit outside. Definitely howing him this inspo!
I love the walls in the living room. What is it? It looks like a textured wallpaper
What model and manufacturer is this RV? Nice layout!