How to Replace a Shower Faucet in an RV + Photo Inspiration
This post may contain affiliate links.

If your RV shower faucet is leaky, corroded, or just plain outdated, don’t worry — learning how to replace a shower faucet in an RV is easier than you might think! It’s one of the simplest RV bathroom upgrades you can tackle, and it can instantly improve both the look and feel of your shower.
Replacing an old faucet can also help boost water performance and comfort. Some upgraded models include built-in shut-off valves or improved flow control, giving you better pressure and a more enjoyable shower experience. If you’ve ever wondered whether your RV’s low water pressure is normal or if it can be improved, check out our guide on how to increase water pressure in an RV shower.
Whether you’re fixing a leak, upgrading for style, or preparing your rig for the next adventure, this DIY project is budget-friendly, beginner-approved, and takes less than an hour to complete.

Why Replace an RV Shower Faucet?
There are a few common reasons RVers decide to take on an RV shower faucet replacement:
- Leaking or corroded parts: Over time, mineral buildup or age can cause leaks around the knobs or fittings.
- Outdated style: Many RVs come with plain white or beige plastic fixtures that feel dated. Swapping to a modern matte black, brushed nickel, or gold faucet instantly refreshes the space.
- Improved functionality: Some faucets include an on/off switch on the showerhead — ideal for conserving water while boondocking.
- Better water pressure and comfort: A new faucet can help optimize flow for a more relaxing shower.
- Personalization: Matching your faucet finish to your bathroom decor creates a more cohesive, home-like feel.
In summary, replacing an RV shower faucet isn’t just about fixing a problem; it’s about upgrading your experience!
What You’ll Need
Before you begin, gather the following tools and materials:
Tools:
- Adjustable wrench
- Screwdriver (Phillips or flathead, depending on screws)
- Plumber’s tape (Teflon tape)
- Caulk or silicone sealant
Materials:
- Replacement shower faucet (RV-specific or compatible residential model)
Tip: Always measure your existing faucet’s spacing. Most RVs use 4” on-center fittings, but confirm before ordering.
If you’re upgrading for both looks and function, consider finishes like matte black or brushed gold, which pair beautifully with light-toned walls or tile-look shower panels.
For more upgrade inspiration, check out these RV shower makeover DIY ideas.
How to Replace a Shower Faucet in an RV (Step-by-Step)
If you’re wondering how to replace an RV shower faucet, follow these simple steps. The entire process usually takes 30–60 minutes and requires only basic tools.
Watch this helpful video tutorial: RV Shower Faucet Replacement on YouTube
Step 1: Turn Off the Water Supply
Before removing anything, make sure your RV’s water system is off. Turn off the water pump and disconnect from city water. Open a nearby faucet to release any remaining pressure.
Step 2: Remove the Old Faucet
Use your wrench or screwdriver to remove the screws holding the old faucet in place. Gently pull the faucet away from the wall, being careful not to damage the plumbing connections behind it.
Step 3: Clean and Prep the Area
Remove any old sealant or caulk residue. Wipe down the wall surface so you have a clean and dry area for your new installation.
Step 4: Align and Install the New Faucet
Place the new faucet through the existing holes. Make sure to apply plumber’s tape around the threads for a tight, leak-free seal.
Step 5: Reconnect Plumbing Lines
Most modern RVs use PEX tubing with compression or threaded fittings. You’ll want to tighten connections carefully (snug but not over-tightened) and for flexible lines, ensure there are no kinks or twists which would restrict water flow.
Step 6: Turn On Water and Test for Leaks
Reconnect your water source and turn it back on. Then check for leaks at all joints. If you see any drips, tighten connections slightly or reapply plumber’s tape as needed.
Step 7: Finish with Sealant
Run a thin line of caulk or silicone around the faucet base to prevent water from seeping behind the wall panel.
And that’s it! You’ve successfully completed a replacing RV shower faucet project.
Style Inspiration – Real-Life Shower Faucet Upgrades
Once your new faucet is installed, you’ll see just how much this small update can transform your RV bathroom. Here are a few real-life examples from the RV Inspiration community:
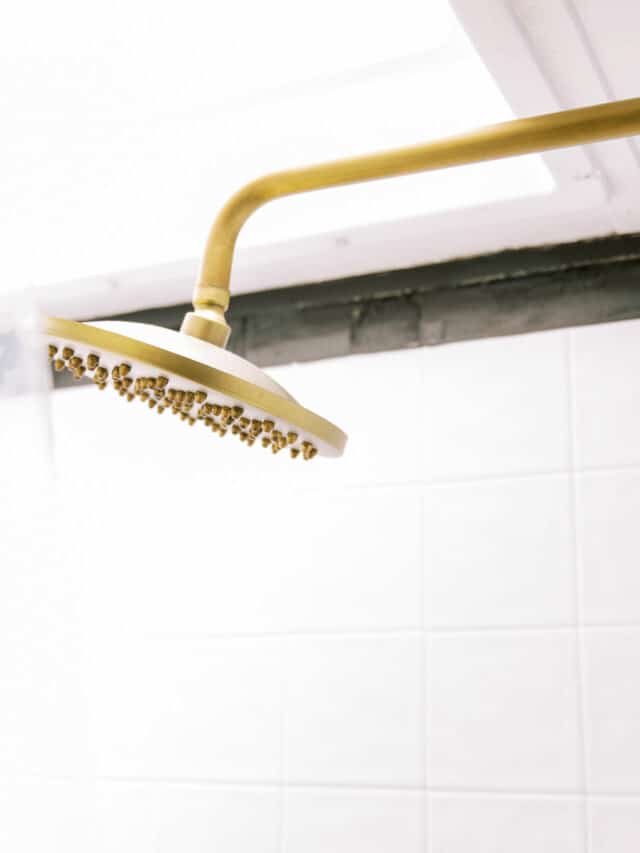
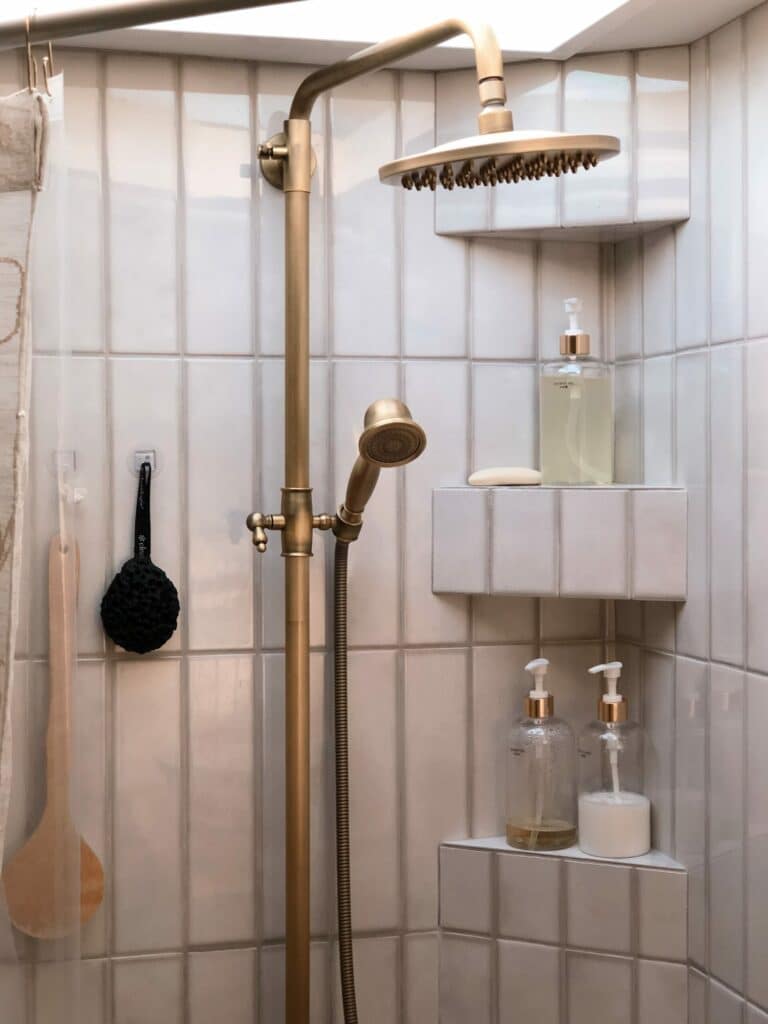
1. Bright and Brass Camper Shower

This timeless style RV bathroom shows how a new shower head can not only change the functionality of a small RV shower, but can also upgrade the style. Read more here!
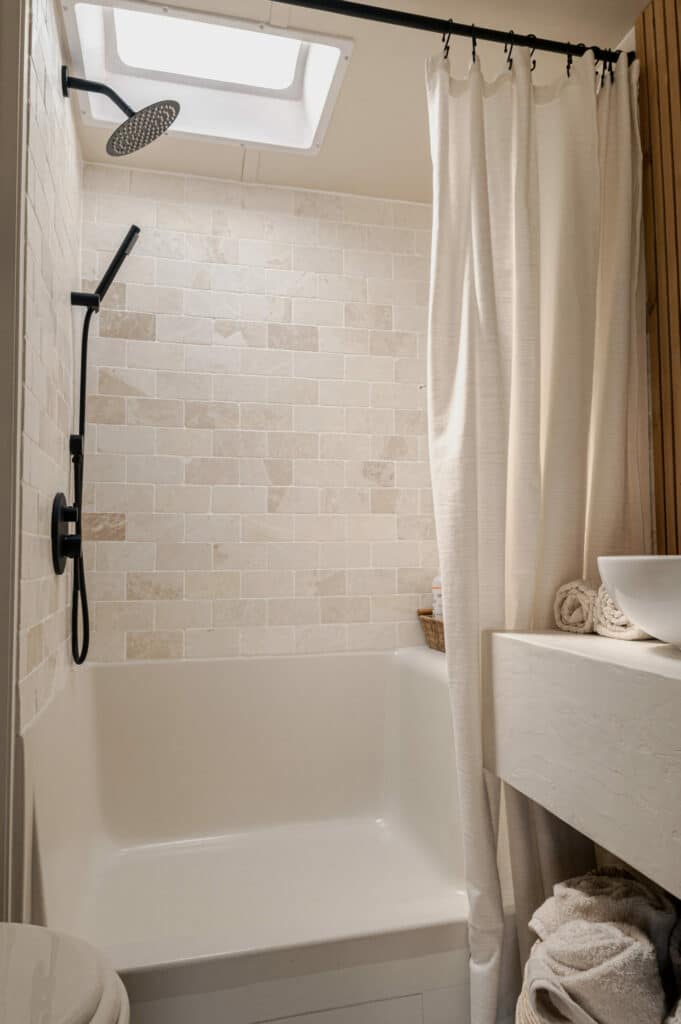
2. Boho Modern Neutrals

Neutral tones, wood accents, and a brushed gold faucet make this RV shower feel like a spa. The mix of textures creates warmth while maintaining a minimalist look.
See the full makeover: RV Shower Makeover DIY Ideas
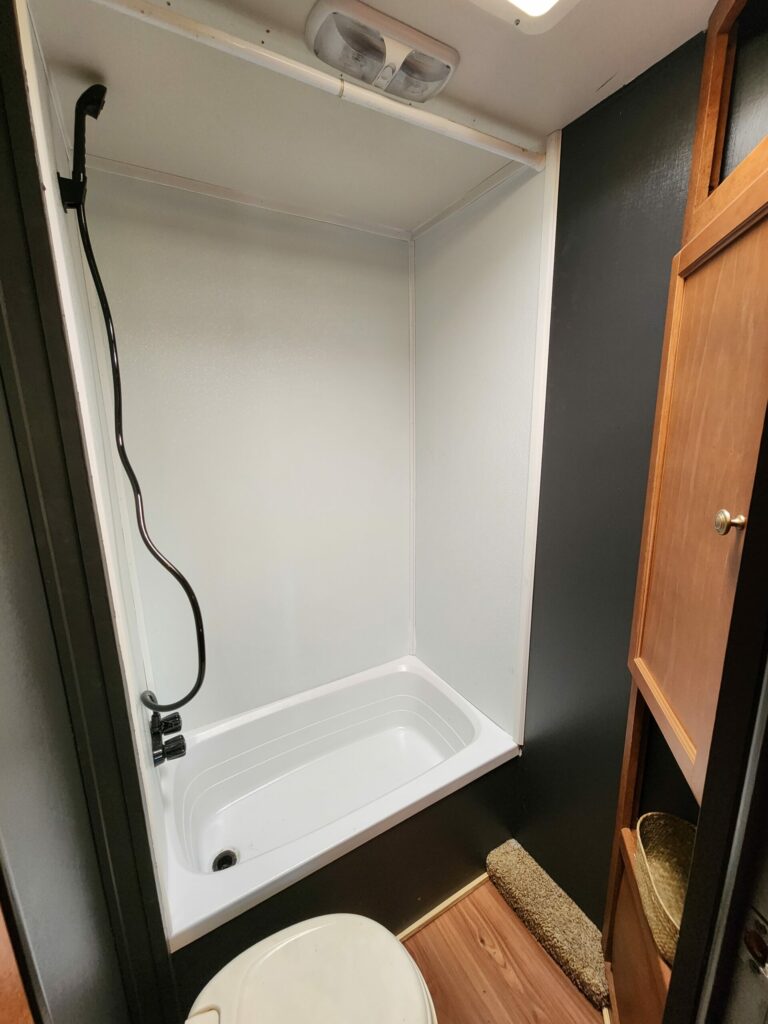
3. Budget-Friendly Tiny Bathroom Transformation

Proof that you don’t need a big space to make a big impact. This RV bathroom uses a black faucet and matching hardware to tie everything together for under $100.
Get inspired: 40 RV Bathroom Remodel Ideas
Final Thoughts on How to Replace a Shower Faucet in an RV
Replacing your RV shower faucet is one of those small projects that delivers a big return. In less than an hour, you can fix leaks, improve functionality, and give your bathroom a mini makeover. Plus, you don’t need professional plumbing skills, just a few tools and a bit of patience, and maybe a YouTube video or two!
Once you’ve learned how to replace shower faucet in RV, you might feel inspired to keep going! From adding a new vanity to updating your wall panels, every upgrade helps your RV feel more like home.
For more design inspiration, explore these other posts we have:
No matter your style, a simple RV shower faucet replacement can make your bathroom both functional and beautiful.


