
DIY RV Skirting: The Ultimate Guide
This post may contain affiliate links.
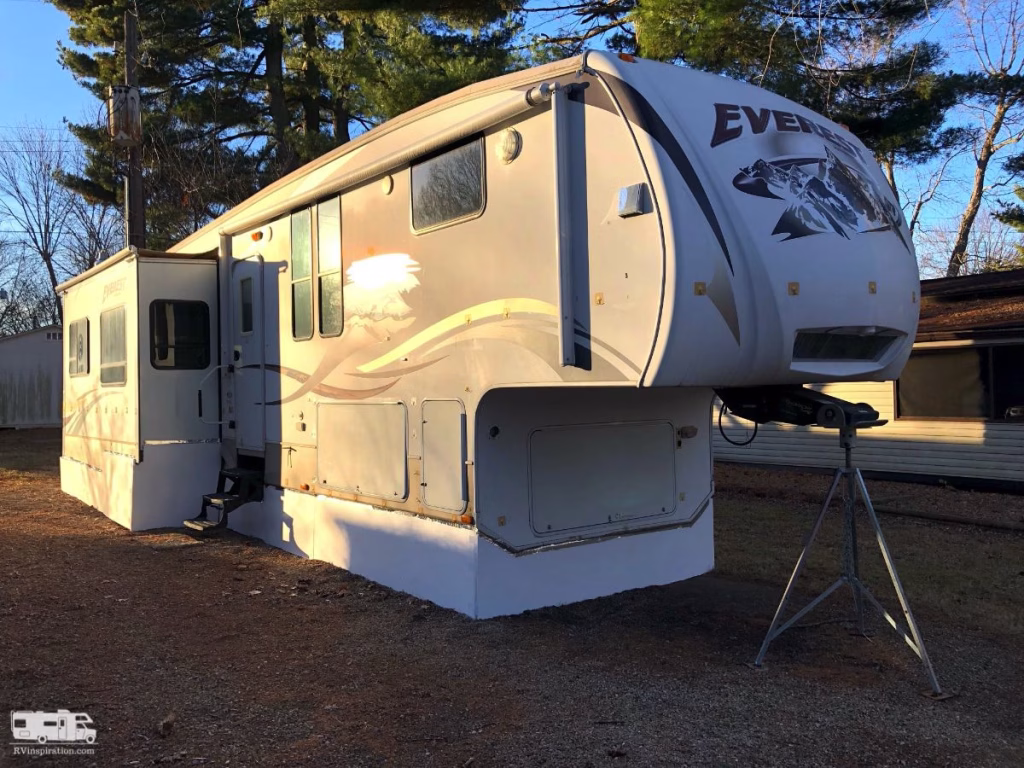
If you’re living in your RV through the winter, you already know that keeping warm can be a real challenge, especially when you’re on a budget. One of the best things you can do to fight off the cold (and those sky-high heating bills) is to add RV skirting. In this guide, we’re diving deep into DIY RV skirting: what your options are, how to build it, what it costs, and whether it’s worth doing it yourself.
Whether you’re parked on private land or hunkering down at a winter campground, this guide is for RVers who don’t mind getting a little hands-on to stay cozy without having to spend money on professional RV skirting. We’ll walk you through different DIY RV skirting ideas, give you the pros and cons of each, and even link you to full tutorials so you will know how to make RV skirting and can get started today.
DIY Foam Board RV Skirting: Cheap yet effective
Foam board skirting is one of the most popular options for DIY RV winter skirting, because it’s affordable, easy to cut and install, and it offers excellent insulation even in sub-zero temperatures. It can even withstand strong wind as long as you install it correctly.
To make it, you’ll need rigid foam insulation boards (often called XPS foam), a cutting tool, and a way to attach the panels to your RV (foil HVAC tape is what we recommend) and hold them place at the bottom. You’ll cut the foam to fit the open space between your RV and the ground, then secure it in place.
Pros:
- One of the most cheap DIY RV skirting options
- Great insulation value for cold weather
- Lightweight and easy to handle
- Easy to install
Cons:
- Not easy to take down, transport and put back up if you move often
- Appearance may not be ideal for RV parks with aesthetic rules
- Not environmentally friendly if you end up throwing it away after every season
Still, for many people, foam board skirting ends up being the best DIY RV skirting option, so we have an in-depth tutorial with a video showing step-by-step how to make and install foam board RV skirting.

DIY Vinyl Skirting: Flexible and Custom-Fit
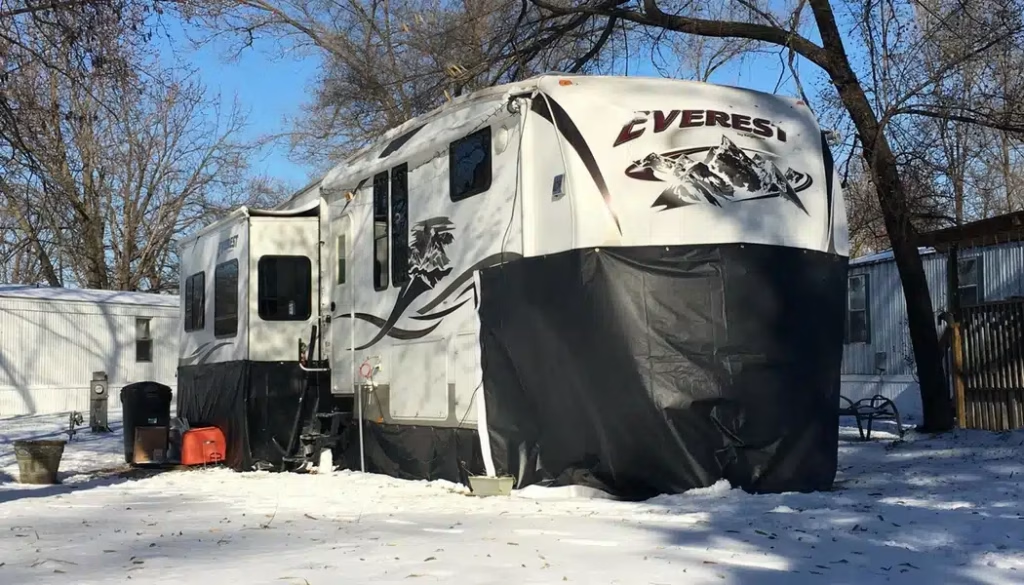
Making DIY vinyl RV skirting might require a bit more effort upfront, but it’s a great RV skirting DIY solution if you want a longer-lasting and more professional-looking setup. You might think it would provide less insulation than foam board since it’s a thinner material, but it’s actually the air trapped under your RV that provides the insulation, so as long as your skirting is sealed and doesn’t allow air to easily escape or blow freely under the RV, vinyl skirting can keep your pipes from freezing even in single-digit weather.
To make your own vinyl RV skirting, you’ll use marine-grade vinyl or heavy-duty tarp material (we recommend recycled billboard tarps because it’s cheap and repurposes a non-biodegradable material), attach it to your RV (there are lots of different ways to do this, some requiring permanent modification to your RV and some temporary), and weight it down at the bottom (again, there are lots of options for this too. You can read about the various options for making, installing, and attaching DIY vinyl RV skirting in our in-depth guide, How We Made $200 Amazing Vinyl DIY RV Skirting for Winter.
Pros:
- Looks nicer and more professional than foam board
- Can be rolled up and stored when not in use and potentially re-used
- More environmentally-friendly than foam skirting you make it from repurposed billboard vinyl
Cons:
- More labor-intensive to make
- Higher initial cost than foam board skirting (though it can still be made for under $200)
Plywood RV Skirting: Sturdy and Semi-Permanent
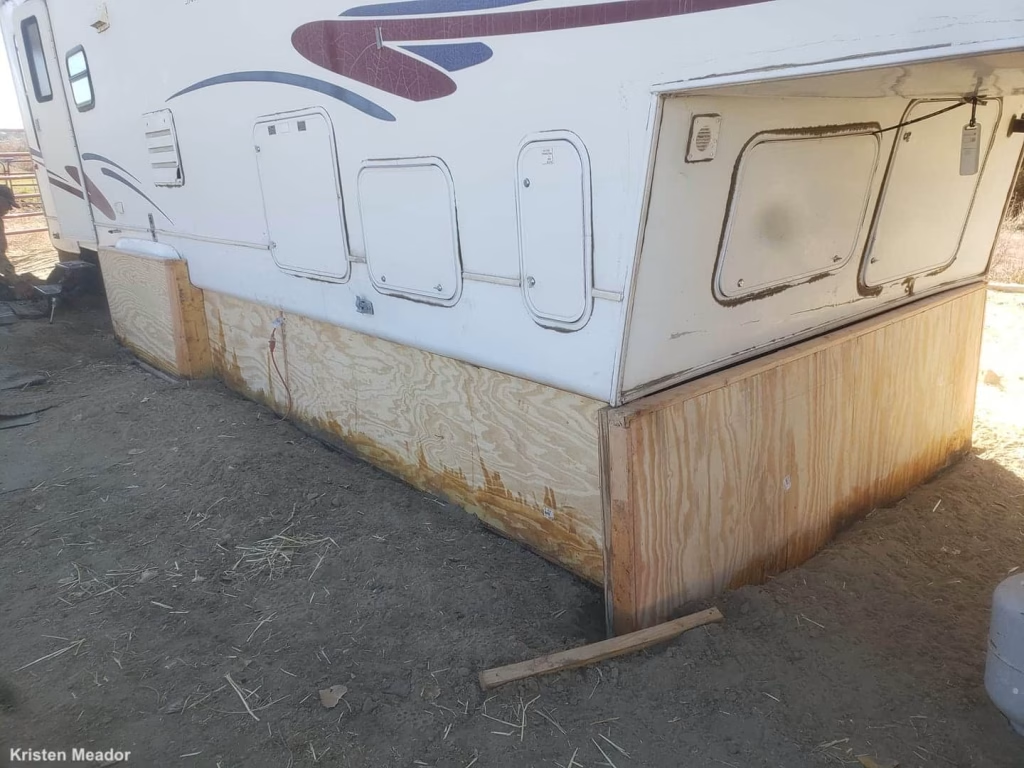
Plywood might not be the first material that comes to mind for skirting, but for stationary RVers, it can be a solid (literally!) option.
To make plywood skirting, measure and cut plywood panels to fit under your RV, then attach them using a frame or support brackets. You can even add a door to provide access to the area under the RV.
Pros:
- Extremely sturdy and wind-resistant
- Offers great insulation in cold temperatures
- Can be painted to match your RV or blend in
- The space under the RV can be used for storage
Cons:
- Heavy and difficult to move
- Not ideal if you travel often
- Susceptible to water damage unless sealed properly
If you’re staying stationary long term and don’t mind using power tools, this could be a good fit.
Hay Bales: Just Say No

Hay bales might sound like a cozy, rustic option for DIY RV skirting for winter, but in reality, they’re a bad idea.
Here’s why:
- Hay absorbs moisture and becomes moldy quickly
- It attracts rodents (and gives them a cozy place to nest right under your RV!)
- It’s heavy, hard to move, and you might have trouble disposing of it later
- It is a fire risk. Hay burns very easily and wet hay can actually catch fire on its own: as the hay in the middle of the bale decomposes, the middle of the hay bale heats up and can spontaneously combust.
- It can violate campground or city codes due to fire risk
Our advice is to skip the hay and try one of the safer, cleaner options above.
Cinder Blocks: Not Recommended!
Cinder blocks are another tempting DIY material because they’re cheap and readily available. But using them as skirting? Not so great.
Why they’re not ideal:
- Poor insulation (unless you are using mortar to join them, the cracks between bricks will allow warm air to escape and cold air to get in)
- Very heavy and hard to install
- Can cause damage if they shift or fall against your RV
- Might violate RV park rules or local codes
If you want something semi-permanent, plywood is a better DIY skirting option.
Self-Installed Vinyl Skirting Kits: A Middle Ground
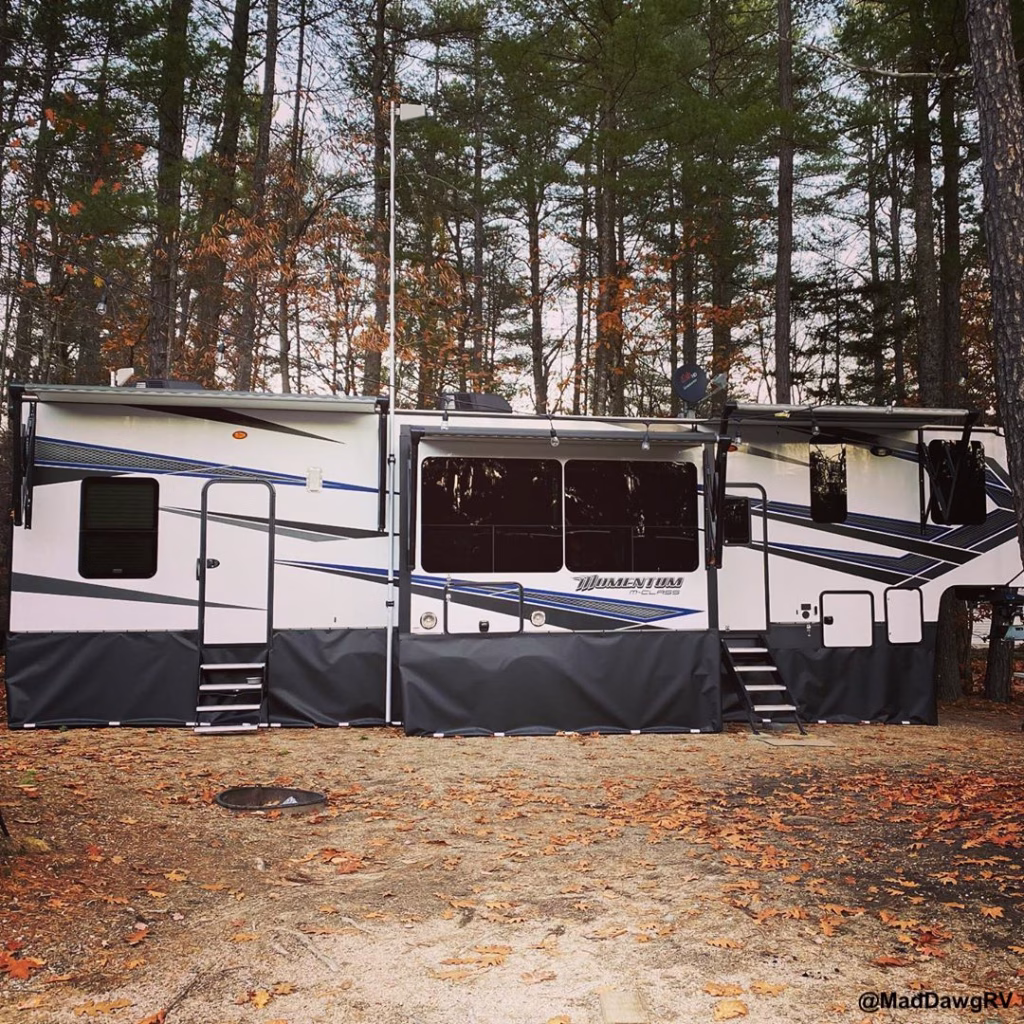
If you want the neat look and convenience of professionally made skirting without paying for full installation, consider a self-installed vinyl skirting kit. Brands like EZ Snap and The Skirting Co offer kits you can install yourself with just a few tools.
Pros:
- Custom-fit to your RV
- Cleaner and more polished appearance
- Durable and weather-resistant
- Easier than fully DIY-ing from scratch
Cons:
- More expensive than homemade options
- Still requires time and effort to install
If you’re somewhere between budget DIY and full-service skirting, this is a great middle option.
Is Making Your Own Skirting Worth It?
So, is DIY RV skirting really worth it?
It might be if:
- You’re on a tight budget
- You’re not moving your RV often
- You’re parked on private land or somewhere appearance isn’t a big deal
- You don’t mind a hands-on DIY project
But don’t forget to factor in your time, energy, and storage space. If you travel frequently or need a more durable, neat-looking setup, it might make more sense to invest in a professionally made solution. You’ll save money in the long run if you don’t have to rebuild every season.
Check out this article for other options, including inflatable skirting like Airskirts: The Ultimate Guide to RV Skirting: Options for Every Budget and Lifestyle
Ready to Tackle Skirting Your RV for Winter?
Whether you’re leaning toward foam board, vinyl, plywood, or a skirting kit, making your own RV skirting can save you serious cash and keep you cozy in and RV all winter long, even in a cold climate. Just be sure to avoid materials like hay and cinder blocks that could do more harm than good.
Want more cold-weather RVing tips? Be sure to check out these helpful resources:
- Skirting for Trailers: What You Need to Know
- How to Prepare Your RV for Cold Weather Living
- Tips to Stay Warm in a Cold Camper
- Winter RVing Checklist to Prevent Damage
Stay warm out there, fellow RVers!

Katherine Bitner spent a year full-time RVing with her husband and dog around the US. As a former interior designer, her favorite thing was budget-friendly ways to make her home on wheels feel luxurious and Pinterest-worthy! She is now a full-time writer and author.


