Should You Winterize Your RV? When and How to Protect Your Camper This Winter
This post may contain affiliate links.
If you own an RV, you’ve likely heard something about winterizing your RV ahead of freezing weather. Winterizing is vital for most RVs—even four-season RVs—but not always required.
In this article, we’ll start with figuring out if you need to winterize your RV before diving into the process.
I live in my RV full-time. Should I winterize my RV?
If you’re actively living in an RV, it should never be winterized. The term winterizing relates to adding antifreeze chemicals to your pipes. You do not want this in your water pipes if you’re actively using the water systems!

Instead of winterizing your RV, you’ll want to prepare it for cold weather by:
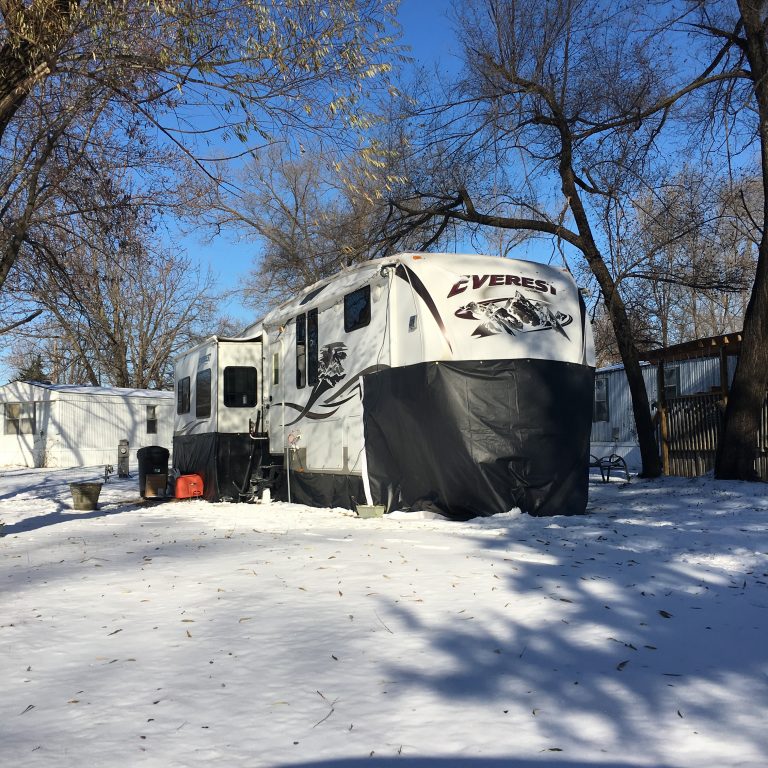
- Skirting your RV. Find out your options for RV skirting here.
- Protecting your RV’s plumbing connections. Learn more about that here.
- Insulating your windows to protect from heat loss.
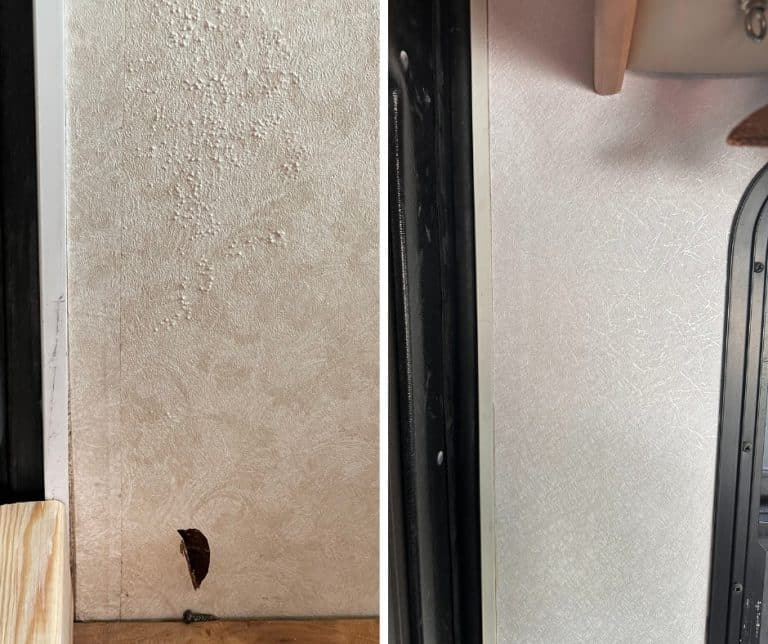
- Insulating any areas where you feel cold air coming in, like in the front of this fifth wheel camper.
- Supplementing your RV’s heating options with space heaters, wood stoves, or other furnaces.
I’m storing my RV for the season. Should I winterize my RV?
If you’re storing your RV for the winter season, yes! It absolutely needs to be winterized. We will share that process below.
Failure to winterize your camper can lead to frozen or busted pipes and significant damage to the plumbing system.
Note: In addition to winterizing your RV, don’t forget to check out this 23-point checklist to prep your RV for storage!
When should I winterize my RV?
You need to winterize your RV before the first hard freeze in your area to prevent the possibility of water in your plumbing system freezing and causing a leak.
At what temperature do I need to winterize my RV?
It depends on your RV model. Some RV’s, for example a four-season fifth wheel and most Class A motorhomes, are able to withstand temperatures below freezing without suffering damage. If your RV has an enclosed underbelly and heated storage bays, you’ll probably be fine even if temperatures dip into the upper 20’s Fahrenheit. But if you have a travel trailer with exposed plumbing, you’ll want to make sure to winterize your RV before the weather goes below freezing.
What do I need to winterize my RV?
To winterize your RV, you will need RV antifreeze and some way to blow air out of your water lines before adding the antifreeze. Read on for more details.
How do I winterize my RV?
The winterization process is designed to flush out any water in your RV and protect your pipes. Water freezing and melting will cause pipes to expand and contract and likely crack or break. This is an expensive but avoidable problem if you properly winterize.
Winterizing is a multi-step process that will be different for every RV. For the specific steps related to your camper, locate your camper’s manual for a detailed winterization process.
Now let’s prep for winter.
1. Gather all of the supplies required.
There are two main products you’ll need to buy to winterize your RV.
1. Antifreeze: make sure to use a nontoxic RV antifreeze since you will be adding this to your drinking water lines.
You may also need some small tools to remove drain plugs, a bowl to catch water, and a bypass system on your hot water heater (if one is not built in already).
2. Prep your RV for storage.
Before properly winterizing your RV, prep it for storage by giving the interior and exterior a thorough cleaning. This is also a good time to clean and flush your black and grey tanks. These tanks should be cleaned annually and cleaning them before storage will prevent odors from seeping into the RV.
For the full list of what to do before storing your RV, check out this 23-point checklist.
3. Disconnect the RV systems.
Before we start the process, go ahead and disconnect your RV from water. Shake out and store your drinking water hose for the season.
You can go ahead and turn off your propane and solar (if you have it) at this point as well.
Most importantly, don’t forget to completely turn off your hot water heater. When we flush it in a few steps, you do not want the water to burn you!
4. Remove water filters.
You don’t want your water filters to be soaked with antifreeze. Locate them (likely near your water tank or pump or under a sink) and gently remove them.
Make a note to replace these in the spring with new filters, if needed.
5. Flush your tanks.
At this point, your grey and black tanks should be dumped and empty, but now it’s time to flush them. Newer RVers will have a built-in flushing system to make this step easy.
If not, RVProperly.com recommends doing this with your freshwater hose. Just “keep going until the water stops coming out dirty.”
Similarly, a cleaning wand built for RV tanks can easily get the job done:
6. Drain the hot water heater.
Once cool, remove the drain plug from your hot water heater and let the water run out. Return the plug once the water has fully drained.
7. Drain faucets and water lines.
Next, turn on every faucet and allow it to drain. You can turn on your water pump at this step to help flush out trapped water faster. Be sure to turn on both the hot and cold lines at each faucet. (Including your shower!)
Look under your sink(s) for “low point drains” and open those as well. You may need a tool to open these.
To keep water from going into your grey tank, you can use a bowl or pitcher under each faucet to catch water. Keep towels on hand in case things get messy!
To ensure your lines are completely empty, you can use an air compressor to “blow out” your water lines. Connect it at your city water fill and open faucet lines one by one. When you hear or feel air coming through, then you’ve fully blown out the line. This step isn’t required, but is one of the best ways to be 100% sure your water lines are clear.

8. Turn off each faucet.
You may need to run faucets for about 15 minutes to fully flush them out. Once they are dry, turn off each faucet and return all drain plugs to low-point drains. Otherwise, you’ll have a problem when we add the antifreeze!
9. Bypass the hot water heater.
You do not want antifreeze entering your hot water heater, not because it would cause damage, but because it’s unnecessary and wasteful. This is an easy step. Locate the bypass lever or valve and turn it to bypass mode.
If your hot water does not have a bypass valve, check your manual for how to complete this step or buy and install a bypass system.
10. Install your water pump converter kit.
This kit is what will allow you to pump antifreeze throughout your RV. We recommend going with a trusted brand like Camco.
11. Pump antifreeze in your RV.
Most of the prep work is done, now it’s time to really winterize your RV!
Using your water pump converter kit, attach a hose to your water pump and drop the other end into your jug of RV antifreeze. Make sure the hose is at the bottom of the jug to prevent the hose from unnecessarily pumping air.
Everyone has a different opinion on which faucet to start with—some say the farthest away from your pump, some say the closest. Either way, one by one we will start opening your faucets. Turn them on one at a time and turn them off once you see pink.
Don’t forget to open both hot and cold lines at each faucet. If you have an outdoor shower, don’t miss turning those knobs on as well!
Replace your antifreeze jug as necessary. It may take 2-3 jugs depending on the size of your RV.
12. Flush your toilet(s).
Flush until you see pink!

13. Pour antifreeze down every drain.
Pour about a cup (8 oz.) of antifreeze down your sink, shower, and toilet drains.
14. Final Checks
Ensure that every faucet, drain, and valve is closed. Check that your water pump and hot water heater are off.
Better safe than sorry!
15. Remove RV batteries.
Your RV batteries should be disconnected and preferably stored inside. Freezing temperatures can deteriorate battery quality. Store your RV batteries in your garage if possible until you’re ready to de-winterize your RV.
16. Do you have an ice maker or washing machine?
If you have an ice maker in your fridge or a washing machine, check your manual for how to winterize these as each machine will be different.
Congratulations, you winterized your RV!
Winterizing your RV may sound like an intensive process, but it all comes down to draining your water lines and adding antifreeze. That part of the process should only take you a couple of hours at most if this is your first time winterizing.
Remember: You do NOT need to winterize your RV if you’ll be living in it during the winter.


